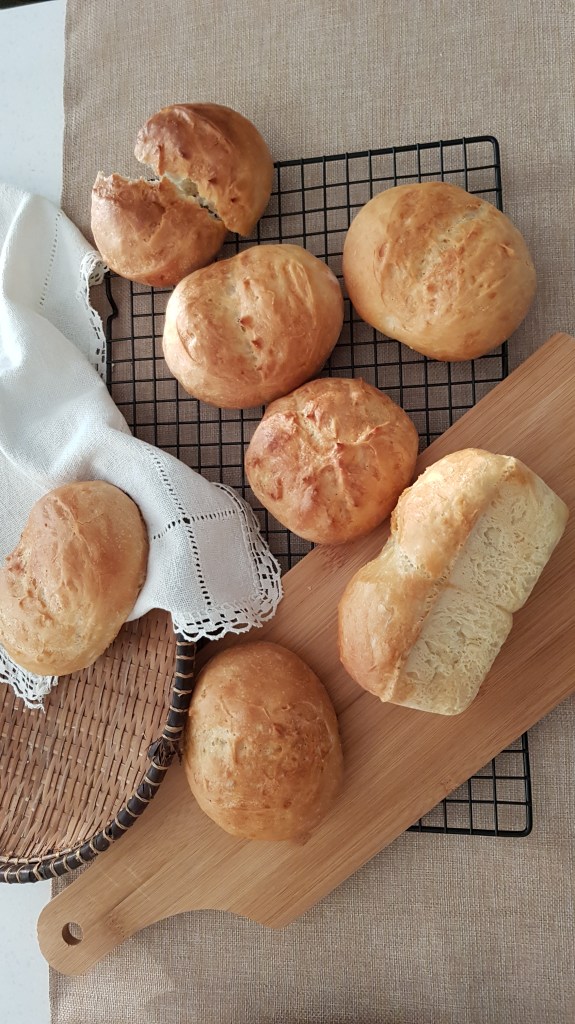
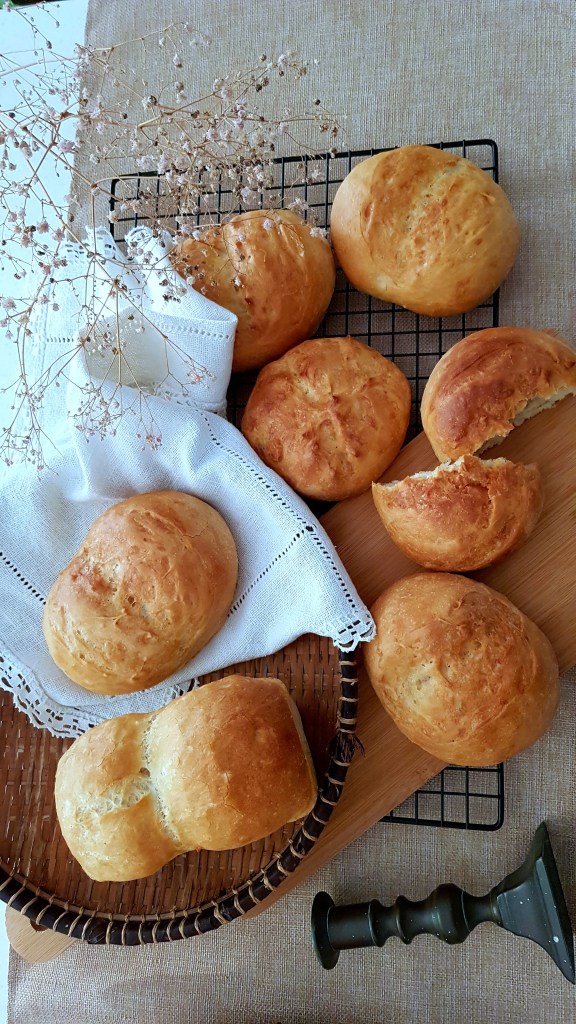
Rustic White Bread Rolls – “Pain Maison”
You don’t need a bread-maker to make these rustic bread, and yes we are talking about the famous “pain maison”. We Mauritian have inherited this recipe by settlers to our tiny island many years ago. The Pain Maison which is simply a rustic bread is very special to us, every morning and afternoon buying freshly baked bread is very much part of the daily routine of many people. It is part and parcel of the Mauritian culture of going to the bakery or “la boutique” every day for fresh bread.
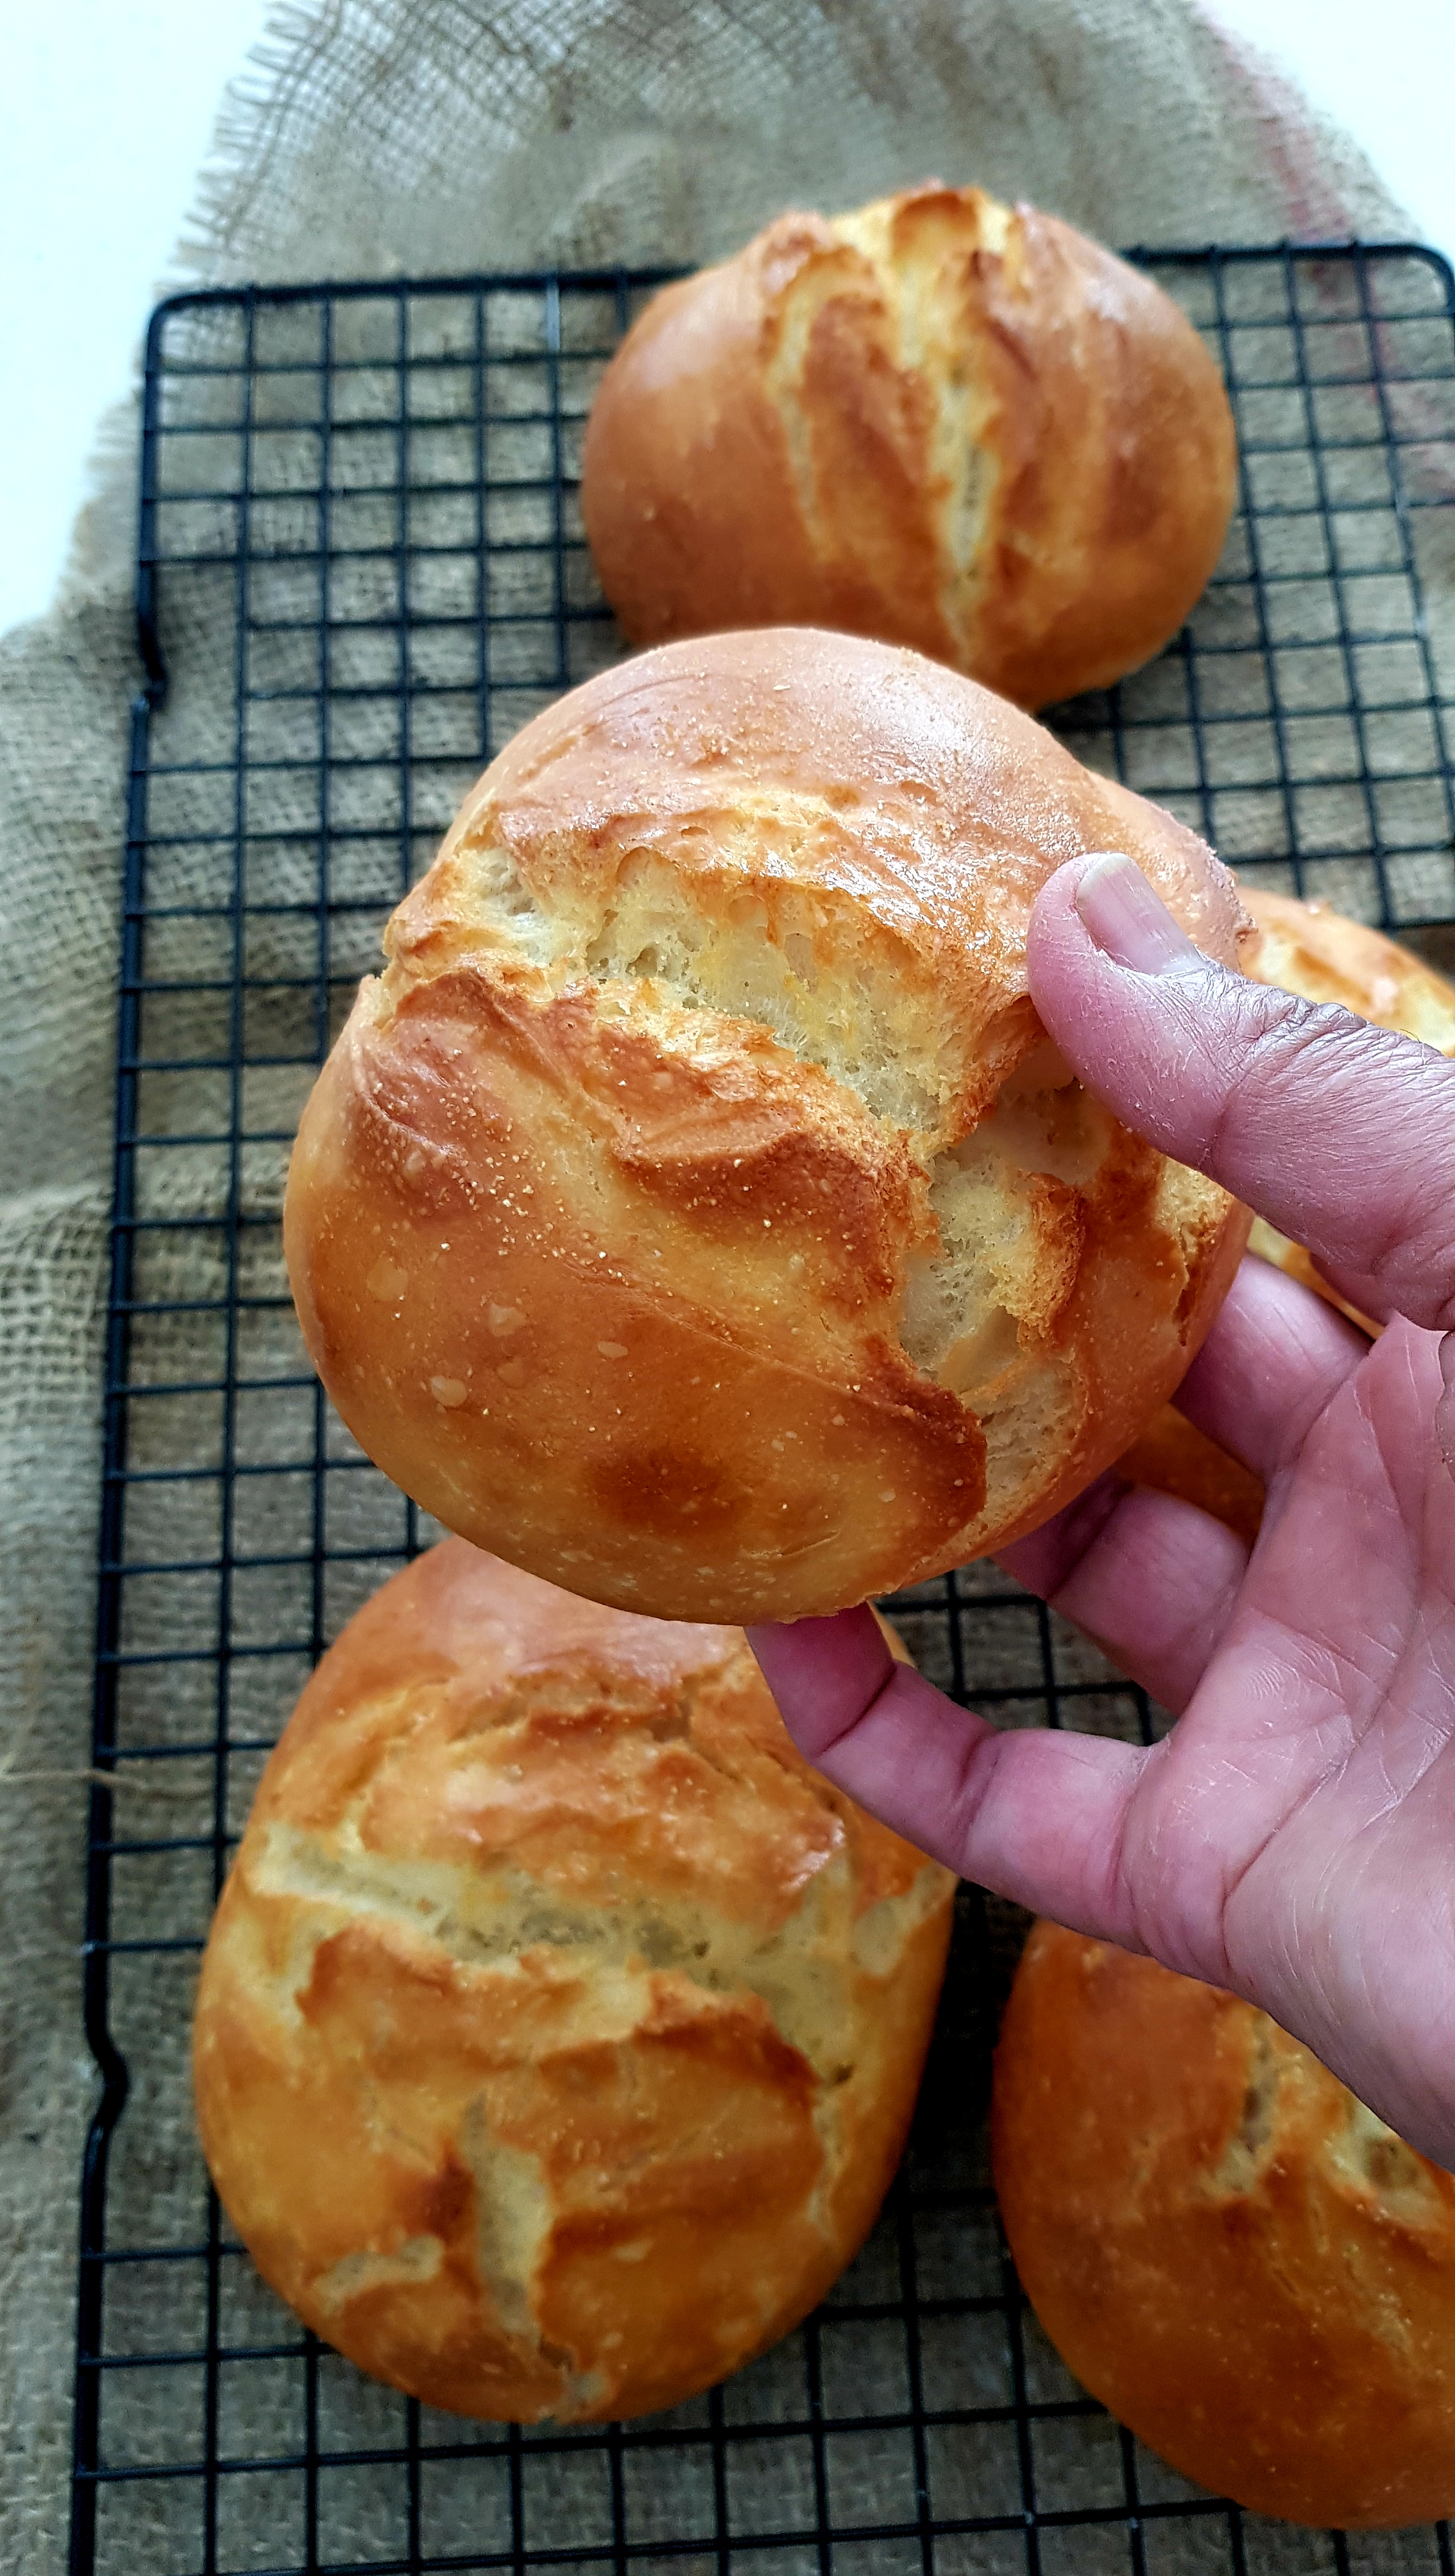
I very often make my own bread rolls, they are easy but you will need to be patient. Bread making is not complicated, you only need very few basic ingredients but patience is required. Bread making is a process and to get the best result you need to let the bread dough prove at the right temperature. This way you can guarantee a light, airy, and a very crusty and crumbly outer crumb.
I am sure many of you out there will relate to lunch or breakfast heaven with a few “gateux piment” in a freshly baked “pain maison”. Or sardine with pickled chillies “piment confit” with a little drizzle of oil or vegetable achard “zasar legumes” stuffed in these bread rolls, sat by the sea, breathing fresh sea air and breeze blowing away,….. I shall leave you to use your imagination.
Well now you can make your own bread with these simple step by step, simple ingredients and a bit of patience…Hope you enjoy try bread making. Enjoy xxxx
Ingredients
- 500g/1lb 2oz strong white flour & extra for kneading and dusting
- Pinch of salt
- 10g of baking yeast
- 300ml/11½oz warm water
- 1 Tbs butter or 40ml/1½fl oz olive oil (optional)
- Some Semolina for dusting (This is a little secret, it gives that grainy crumb on the top)
- Place the dry ingredients in a bowl, taking care not to have the salt and yeast touching (this is a tip I follow from Paul Hollywood).
- Make a well in the centre, then add the oil and 240mls of water, and mix well.
- Using your hands, mix the ingredients together. Gradually add the remaining water (you may not need it all), until all the flour leaves the side of the bowl and you have a soft, rough dough.
- Place the dough on a floured surface and begin to knead.
- Do this for 5-10 minutes, or until the dough becomes smooth and silky.

- Once the correct consistency is achieved, place the dough in a clean bowl. Cover with cling film and leave in a warm place until double or even tripled in size.
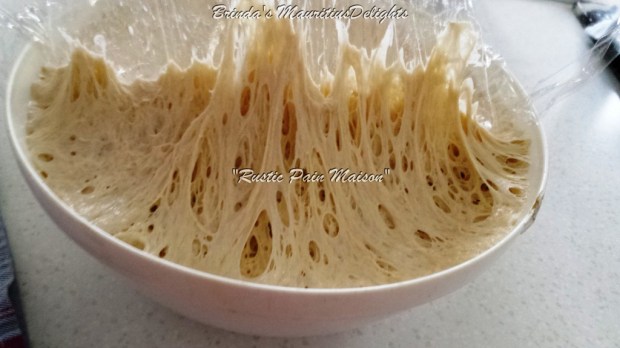
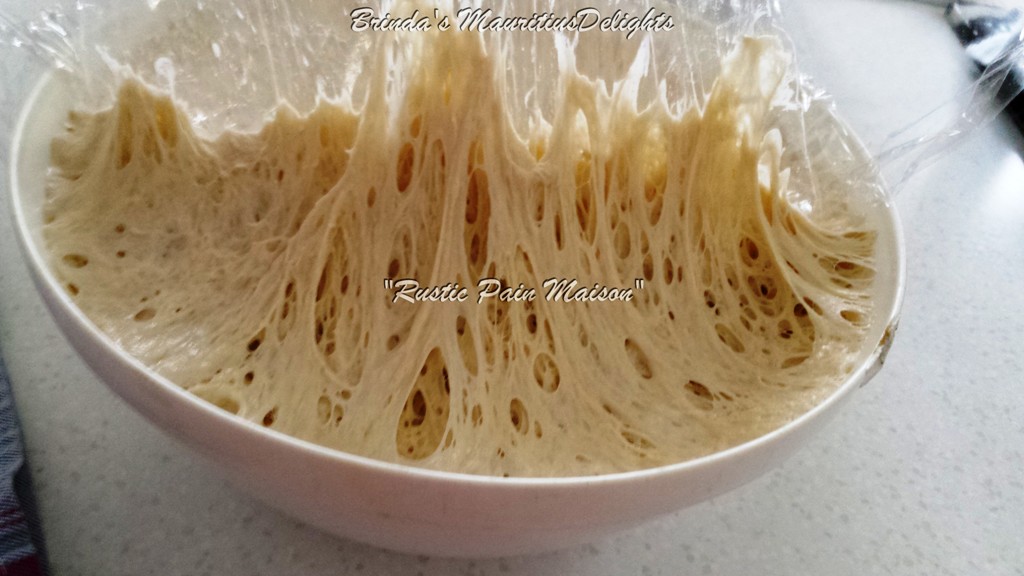
- Once risen, place the dough onto a floured surface. Knock the dough back by folding it in on itself repeatedly. Do this until all the air is knocked out and the dough is smooth. (see below the web-like texture when you unveil the risen dough, you can almost guarantee a perfect light airy bread once baked)
- Divide the dough into 125gms balls gently mould the dough into a rolls.
- Place on a tray lined with parchment paper, using a sharp knife cut across in the middle as illustrated in picture. I find using a pair of kitchen scissors makes a perfect incision as well across the top.
- Cover and leave to prove for 1-2 hours at room temperature, or until doubled in size.
- Sometimes you may find once the dough has risen it may lose the depth of the incision in which case you might want to run your knife or scissor again across existing incision.
- Lightly spray with water or paint with some liquid milk and dust with a little flour/semolina flour.

Preheat the oven to 240/480F/Gas 8 (optional : place a baking tray filled with water on the bottom shelf of the oven – this will create steam when the loaf is baking). Place the rolls on the middle shelf and bake for 10–15 minutes until golden brown and the roll sounds hollow when tapped underneath. Cool on a wire rack.