Fraisier with Pistachios Crème Mousseline
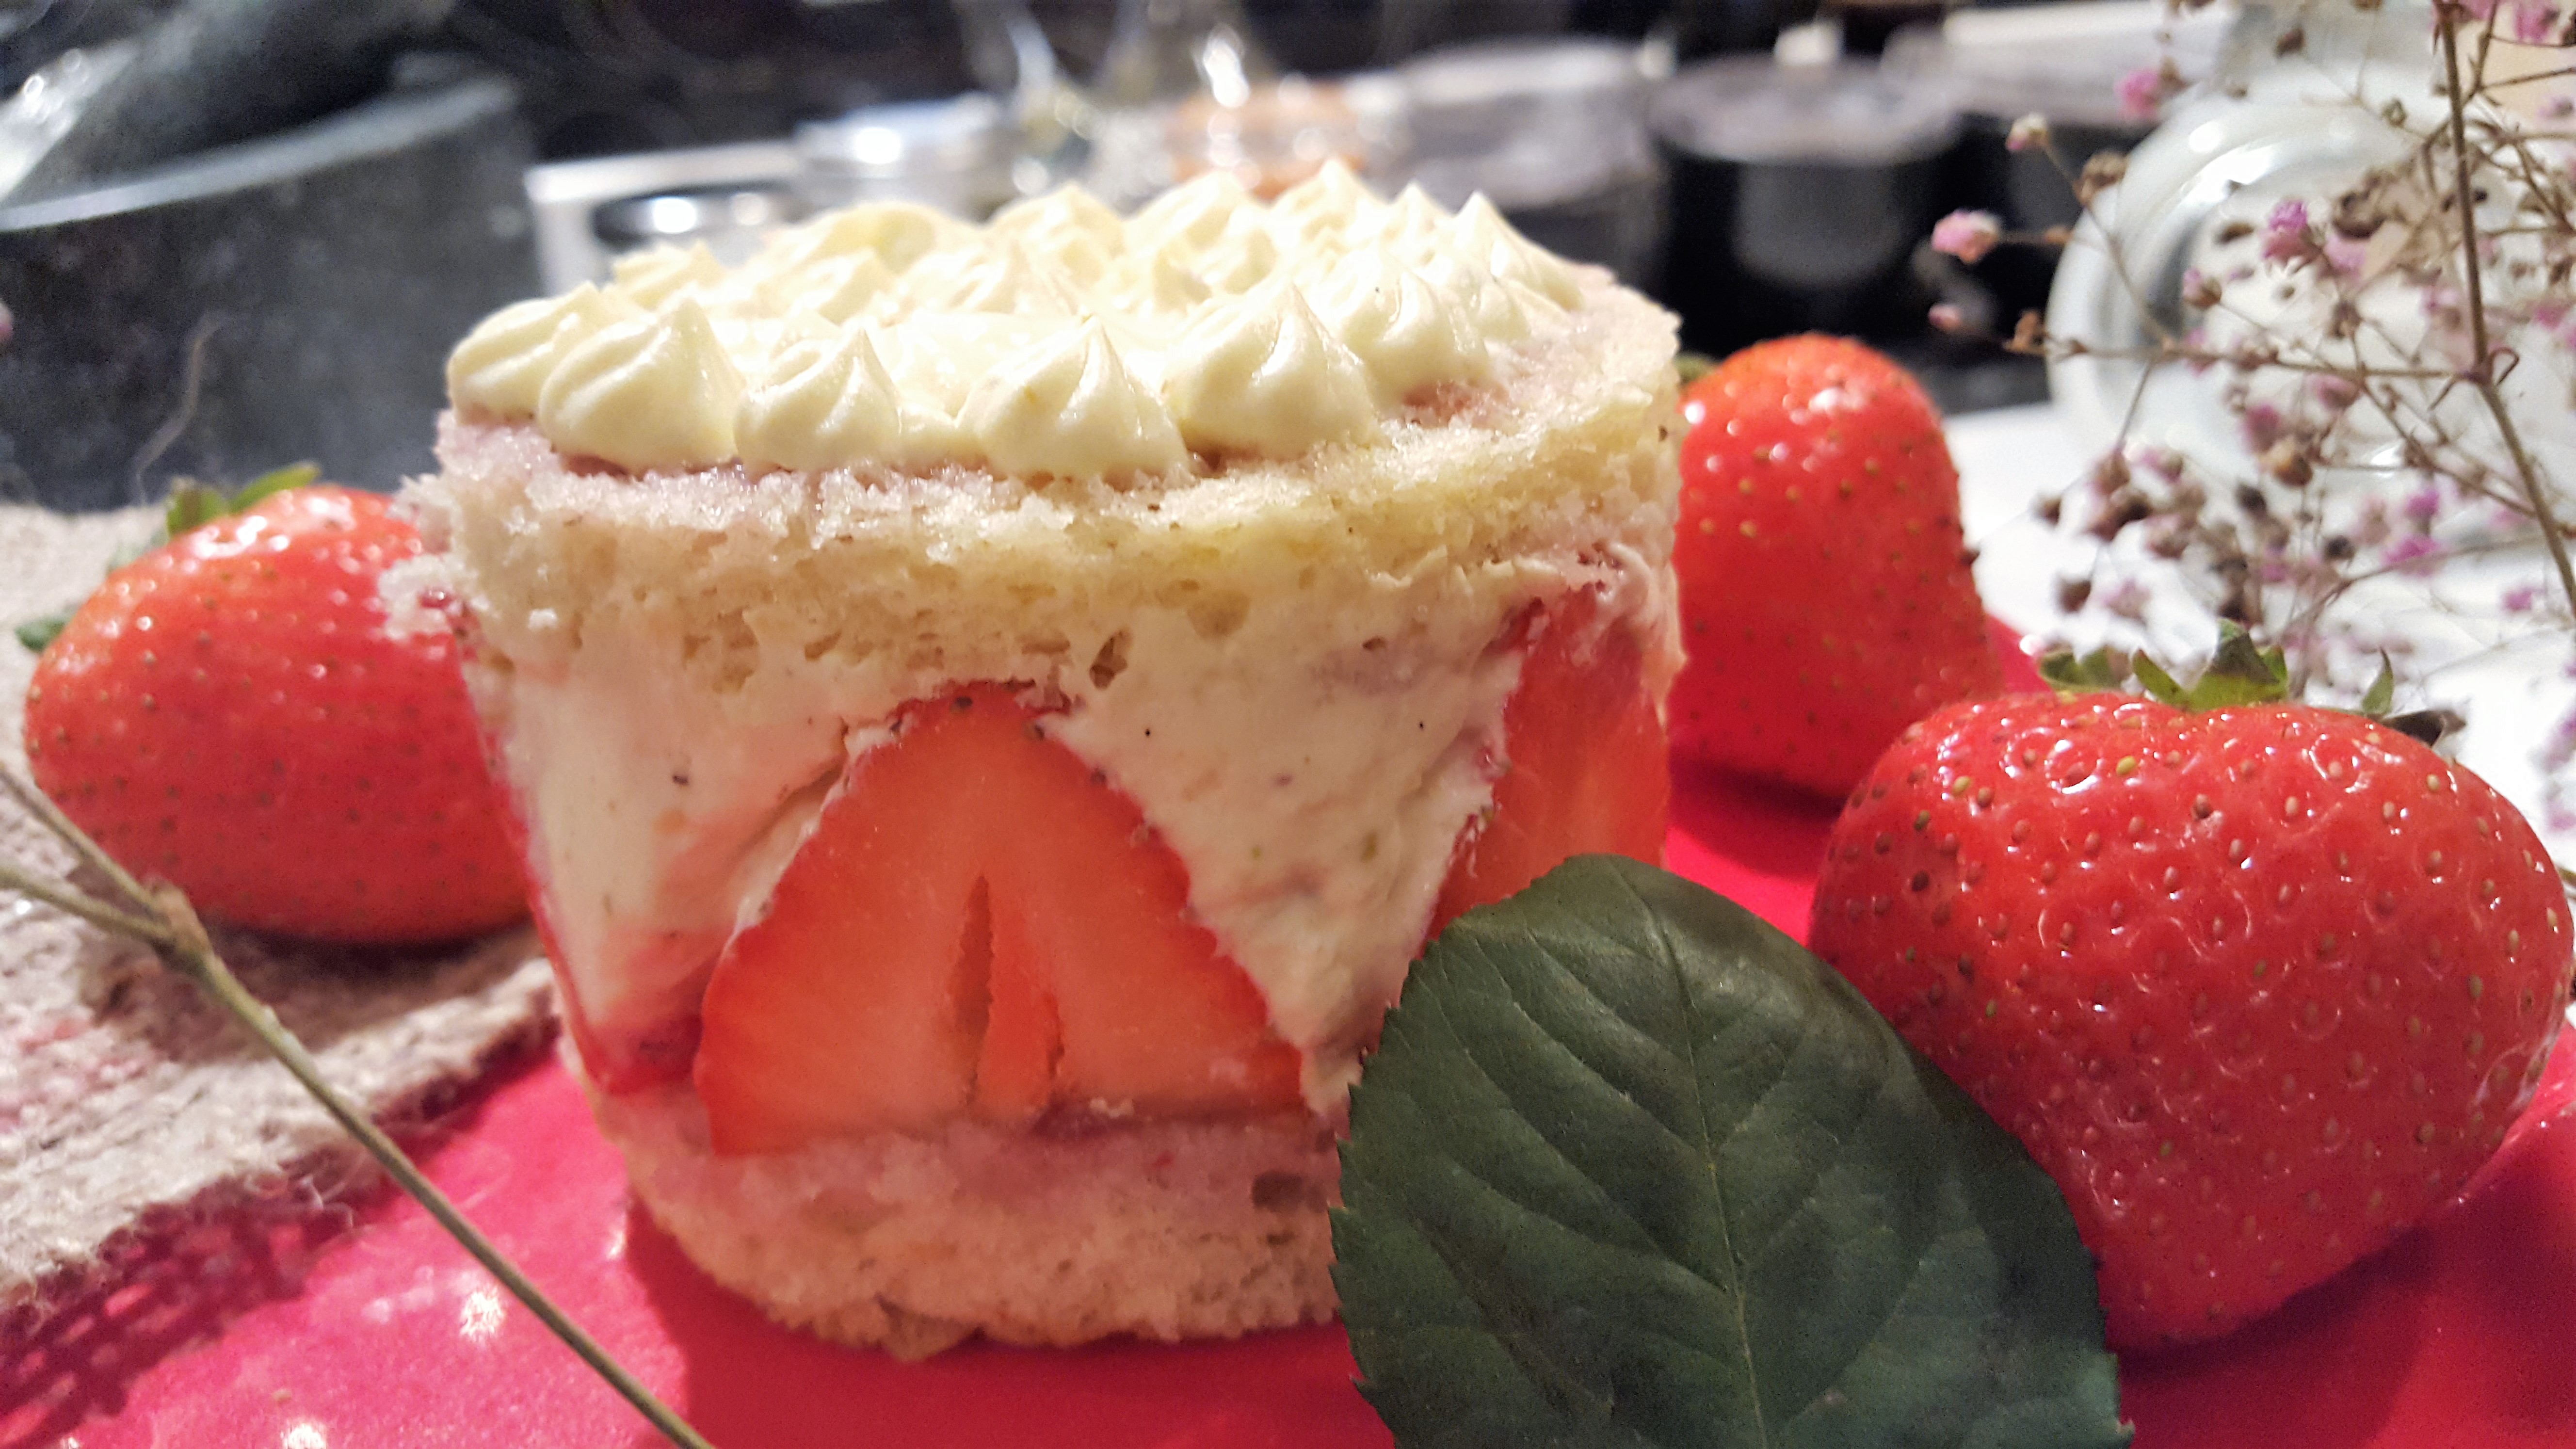
A Fraisier is very much a French Classic dessert/cake that can be enjoyed anytime of the day. As a dessert, afternoon cake with tea. It’s an elegant cake put together making one of the most decadent dessert for all cake and Strawberry lovers. This time I will not say it is an easy one to do, only because there are so many steps to follow, however all very straight forward. The upside of it is that all the ingredients in these cakes are readily available. The end result as you unveil the cake is well worth it…and the Fraisier will shout “I’m Worth It”, dive in.
This pretty cake is filled with kirsch infused crème mousseline and fresh strawberries. The first time I made this cake I was happily surprised with myself and therefore have made it few times since. Now I am happy to share with you my version, which I do hope you will enjoy reading and trying it out.
I find with recipes like these it is better to watch how it’s done in order to understand it better. So for that reason this time I have also included a little video as a guide to assemble the cake. Make life less complicated watch and learn is the moto. 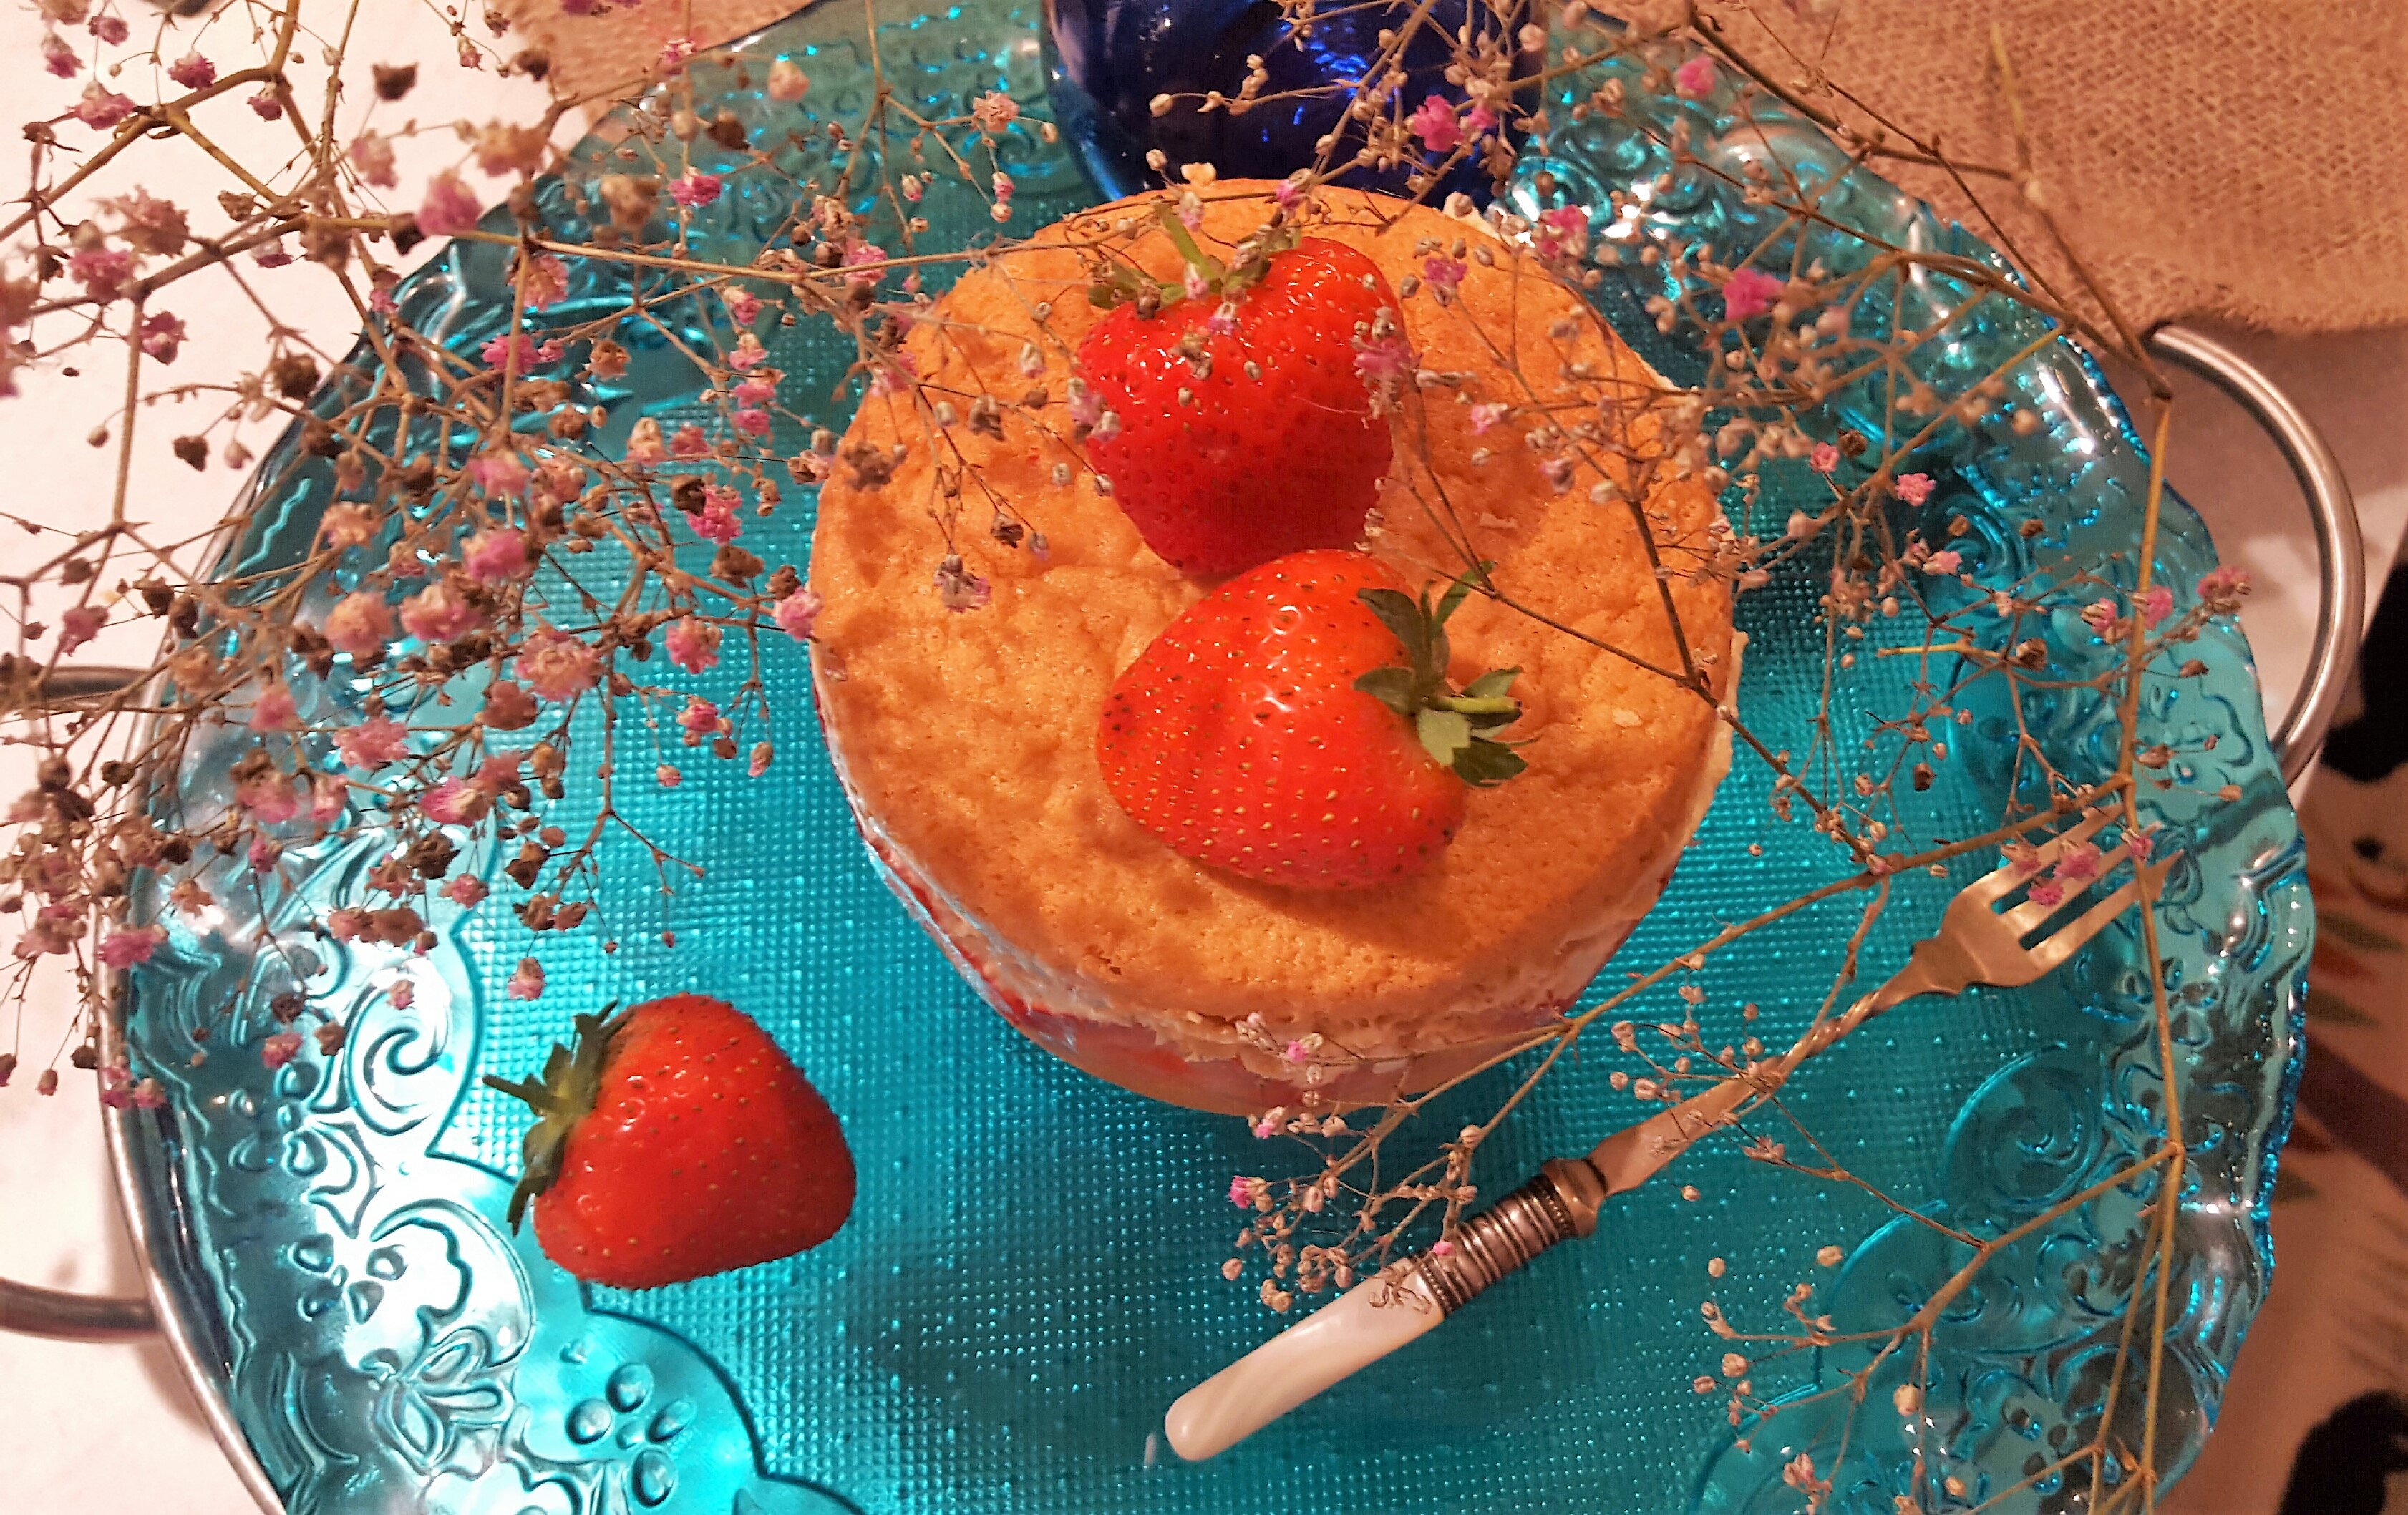
Ingredients Serves 6-8
For the Genoise:
- 125g caster sugar
- 3 free-range eggs
- 125gms self-raising flour, plus extra for flouring
- 50g unsalted butter, melted and cooled slightly, plus extra for greasing
For the crème pâtissière/Crème Mousseline with Pistachios
- 600ml milk
- Seeds of 1 vanilla pod
- 3 free-range eggs, plus 2 free-range egg yolks
- 180g caster sugar
- 100g cornflour
- 150g butter, cut into cubes and kept at room temperature
- 125 mls double cream
- Handful of pistachios – ground

Strawberry sirop to soak the cakes:
- 3-4Tbs Strawberry preserve
- Juice of 1 lemon
- Water to make a more fluid sirop
To decorate the cake
- 600gms medium sized strawberries
- 200g marzipan (optional)

Method
- Preheat the oven to 180C/350F/Gas 4. Grease, flour and line the base of a 23cm/9in spring-form or round loose bottom cake tin.
- Place the sugar, eggs in a large bowl set over a pan of simmering water. Using an electric hand whisk, whisk the mixture over a medium heat until doubled in volume and pale in colour. The right consistency you want is when it forms a ribbon trail when the whisk is lifted out of the mixture. Remove from the heat.
- Melt the butter in the microwave and leave it to cool down at room temperature.
- Sift little flour at a time and gently fold into the whisked mixture with a metal spoon or spatula. Do this until all of the flour have been added. Gentle stroke to keep the air in the mixture as much as possible otherwise you may end up with a very flat Genoise. See the attached video.
- Now fold in the melted butter. Pour the mixture into the cake tin and bake for 25-30 minutes or until the sides of the cake begin to come away from the tin and it is pale golden-brown.
- When cooked, allow the sponge to cool a little bit in the tin, then turn out onto a cooling rack. Be very careful as these cake are very delicate and soft.

- While the cake is cooling down start the crème patissiere mixture. Pour the milk into a deep pan, add the vanilla seeds and bring the milk to the boil.
- In a bowl whisk together the eggs, sugar, kirsch and cornflour. Pour a little of the warm milk in the egg mixture and whisk vigorously. Now add this mixture to the rest of the warm milk and cook until it starts to thicken, whisking continuously to prevent any clumps from forming. Remove from the heat, and sieve the mixture in a bowl to remove any excess unwanted lumps.
- Leave this custard mixture to cool down completely.
- In a clean bowl whisk the cream until it forms soft peaks, refrigerate until ready to use.
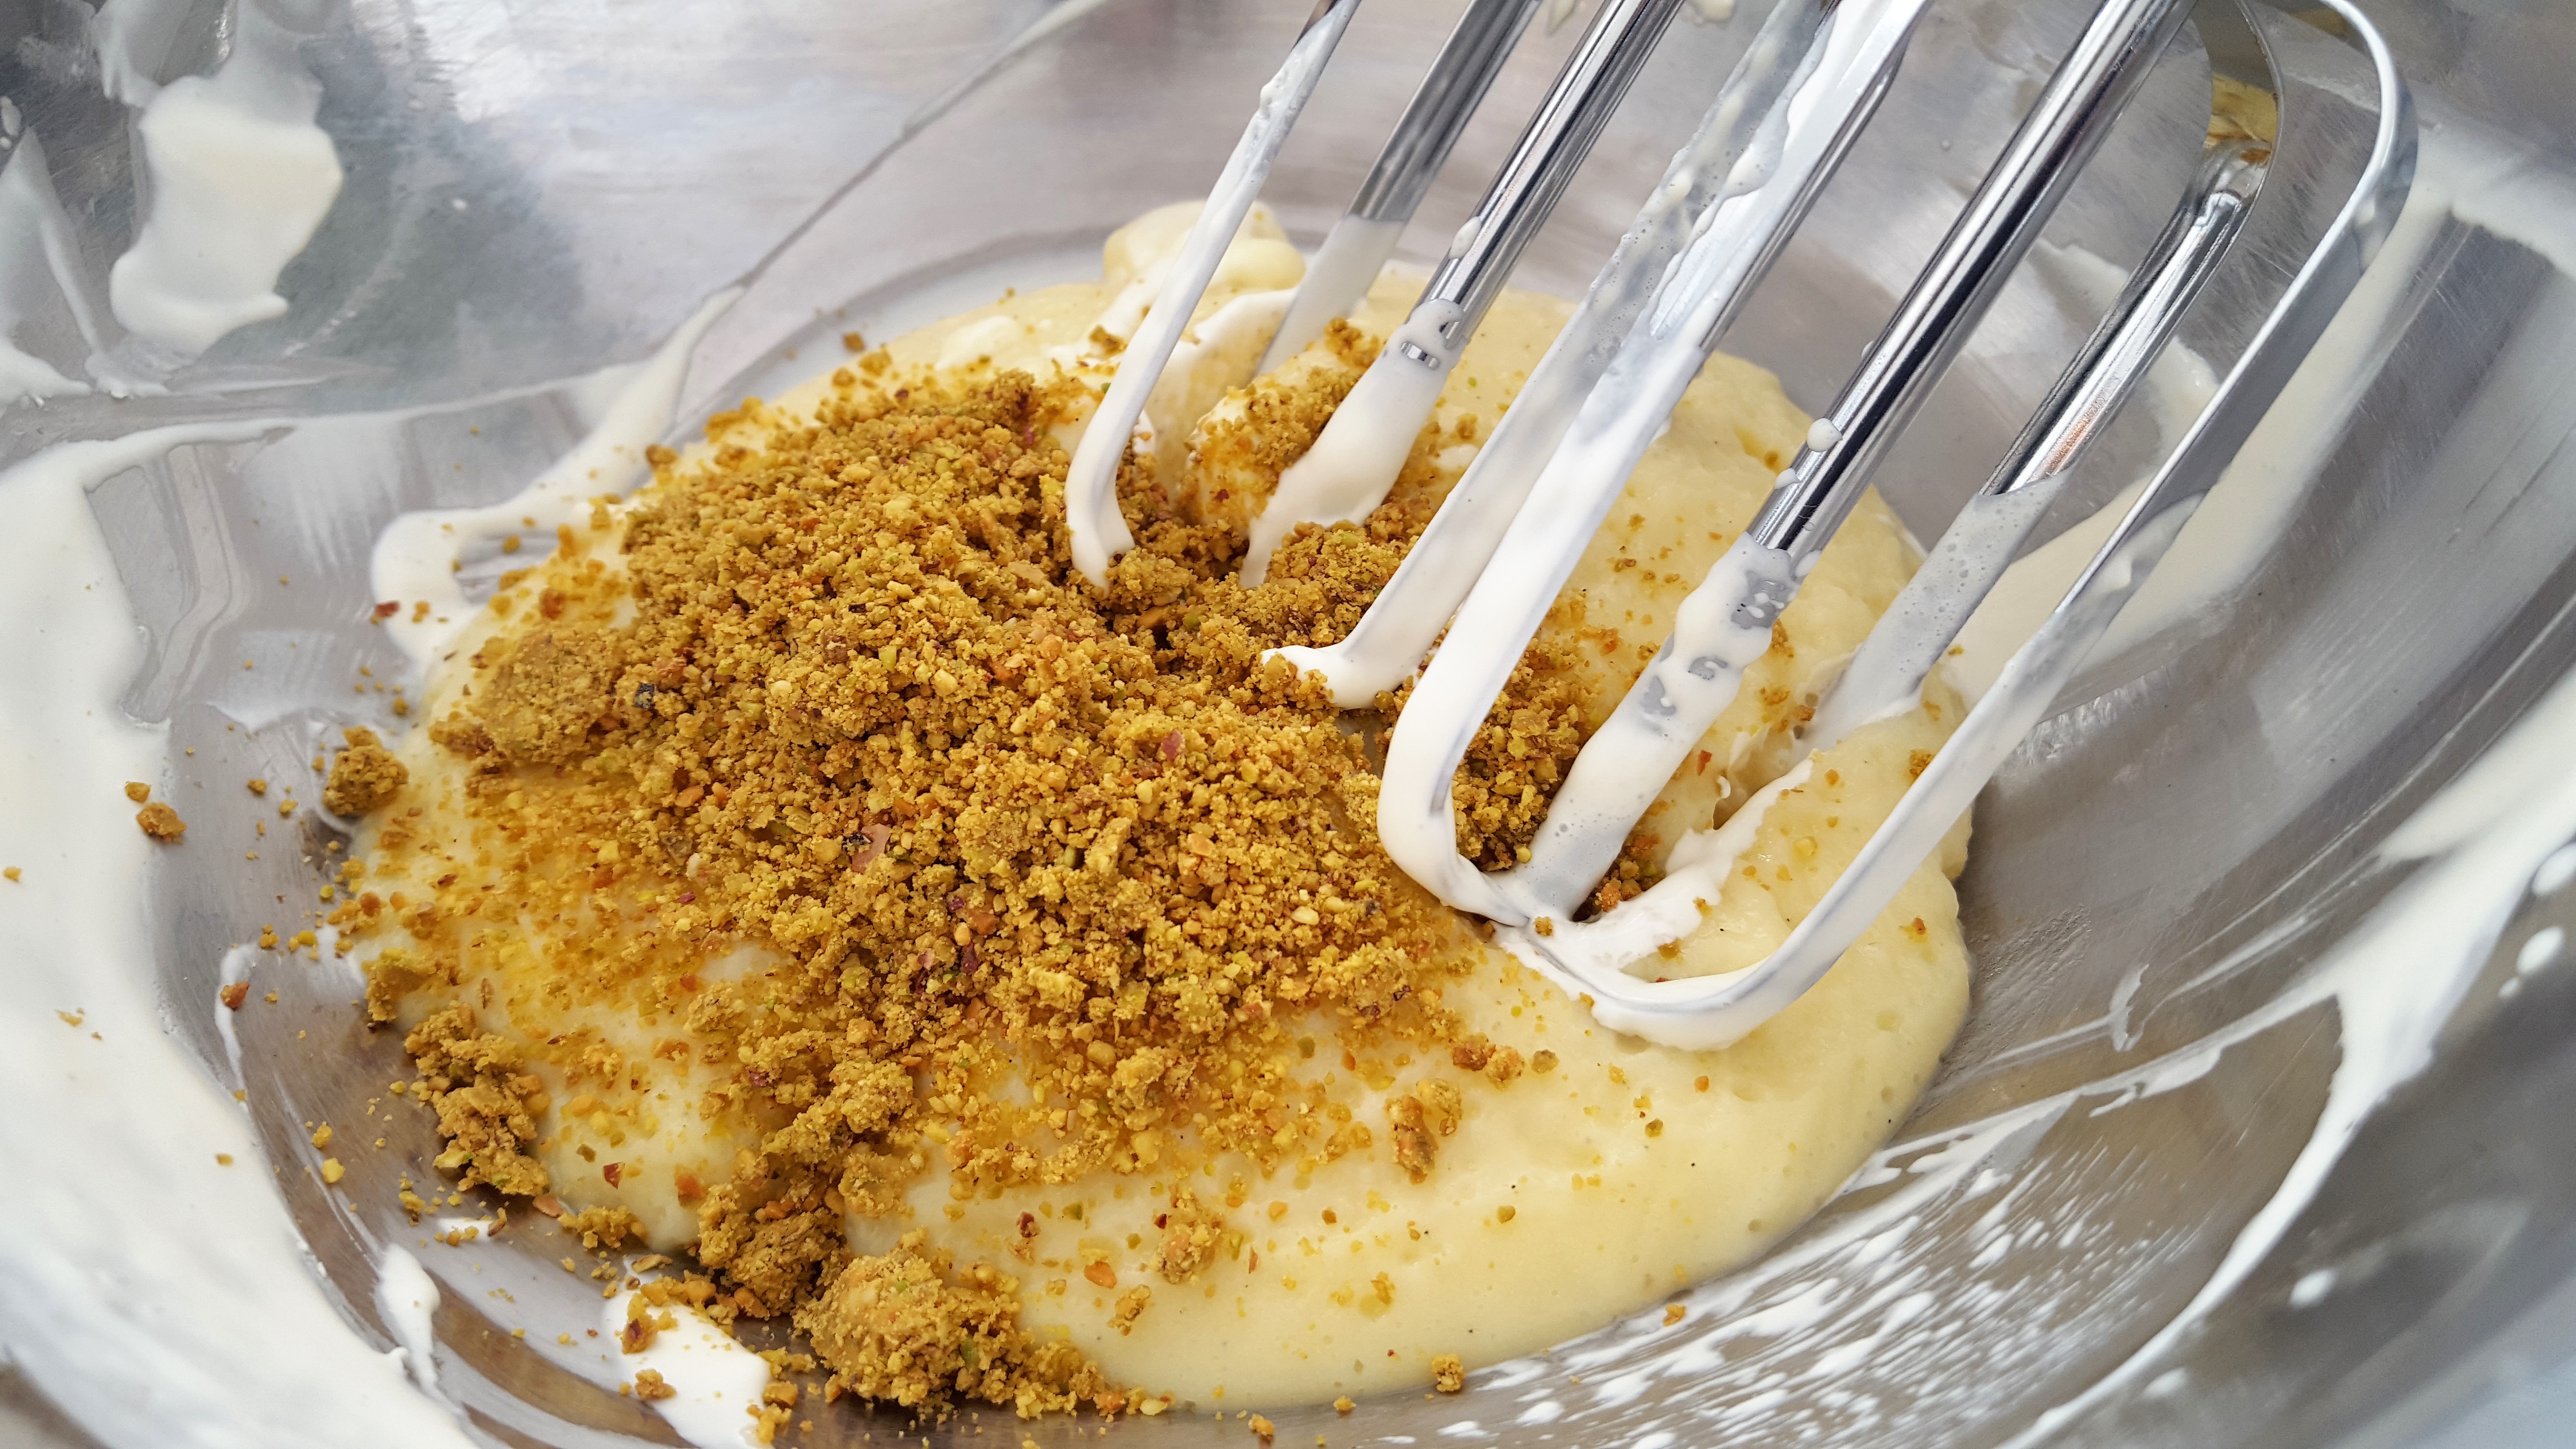
- When the custard is completely cool, fold in the whisked cream to create a soft rich creamy mixture. Add the ground pistachio and fold in gently – See video
- Place the ingredients for the strawberry sirop in a small saucepan, bring to a semi boil, and add enough water to get the required consistency. Remove from heat and set aside to cool down.

Assembling the Cake: 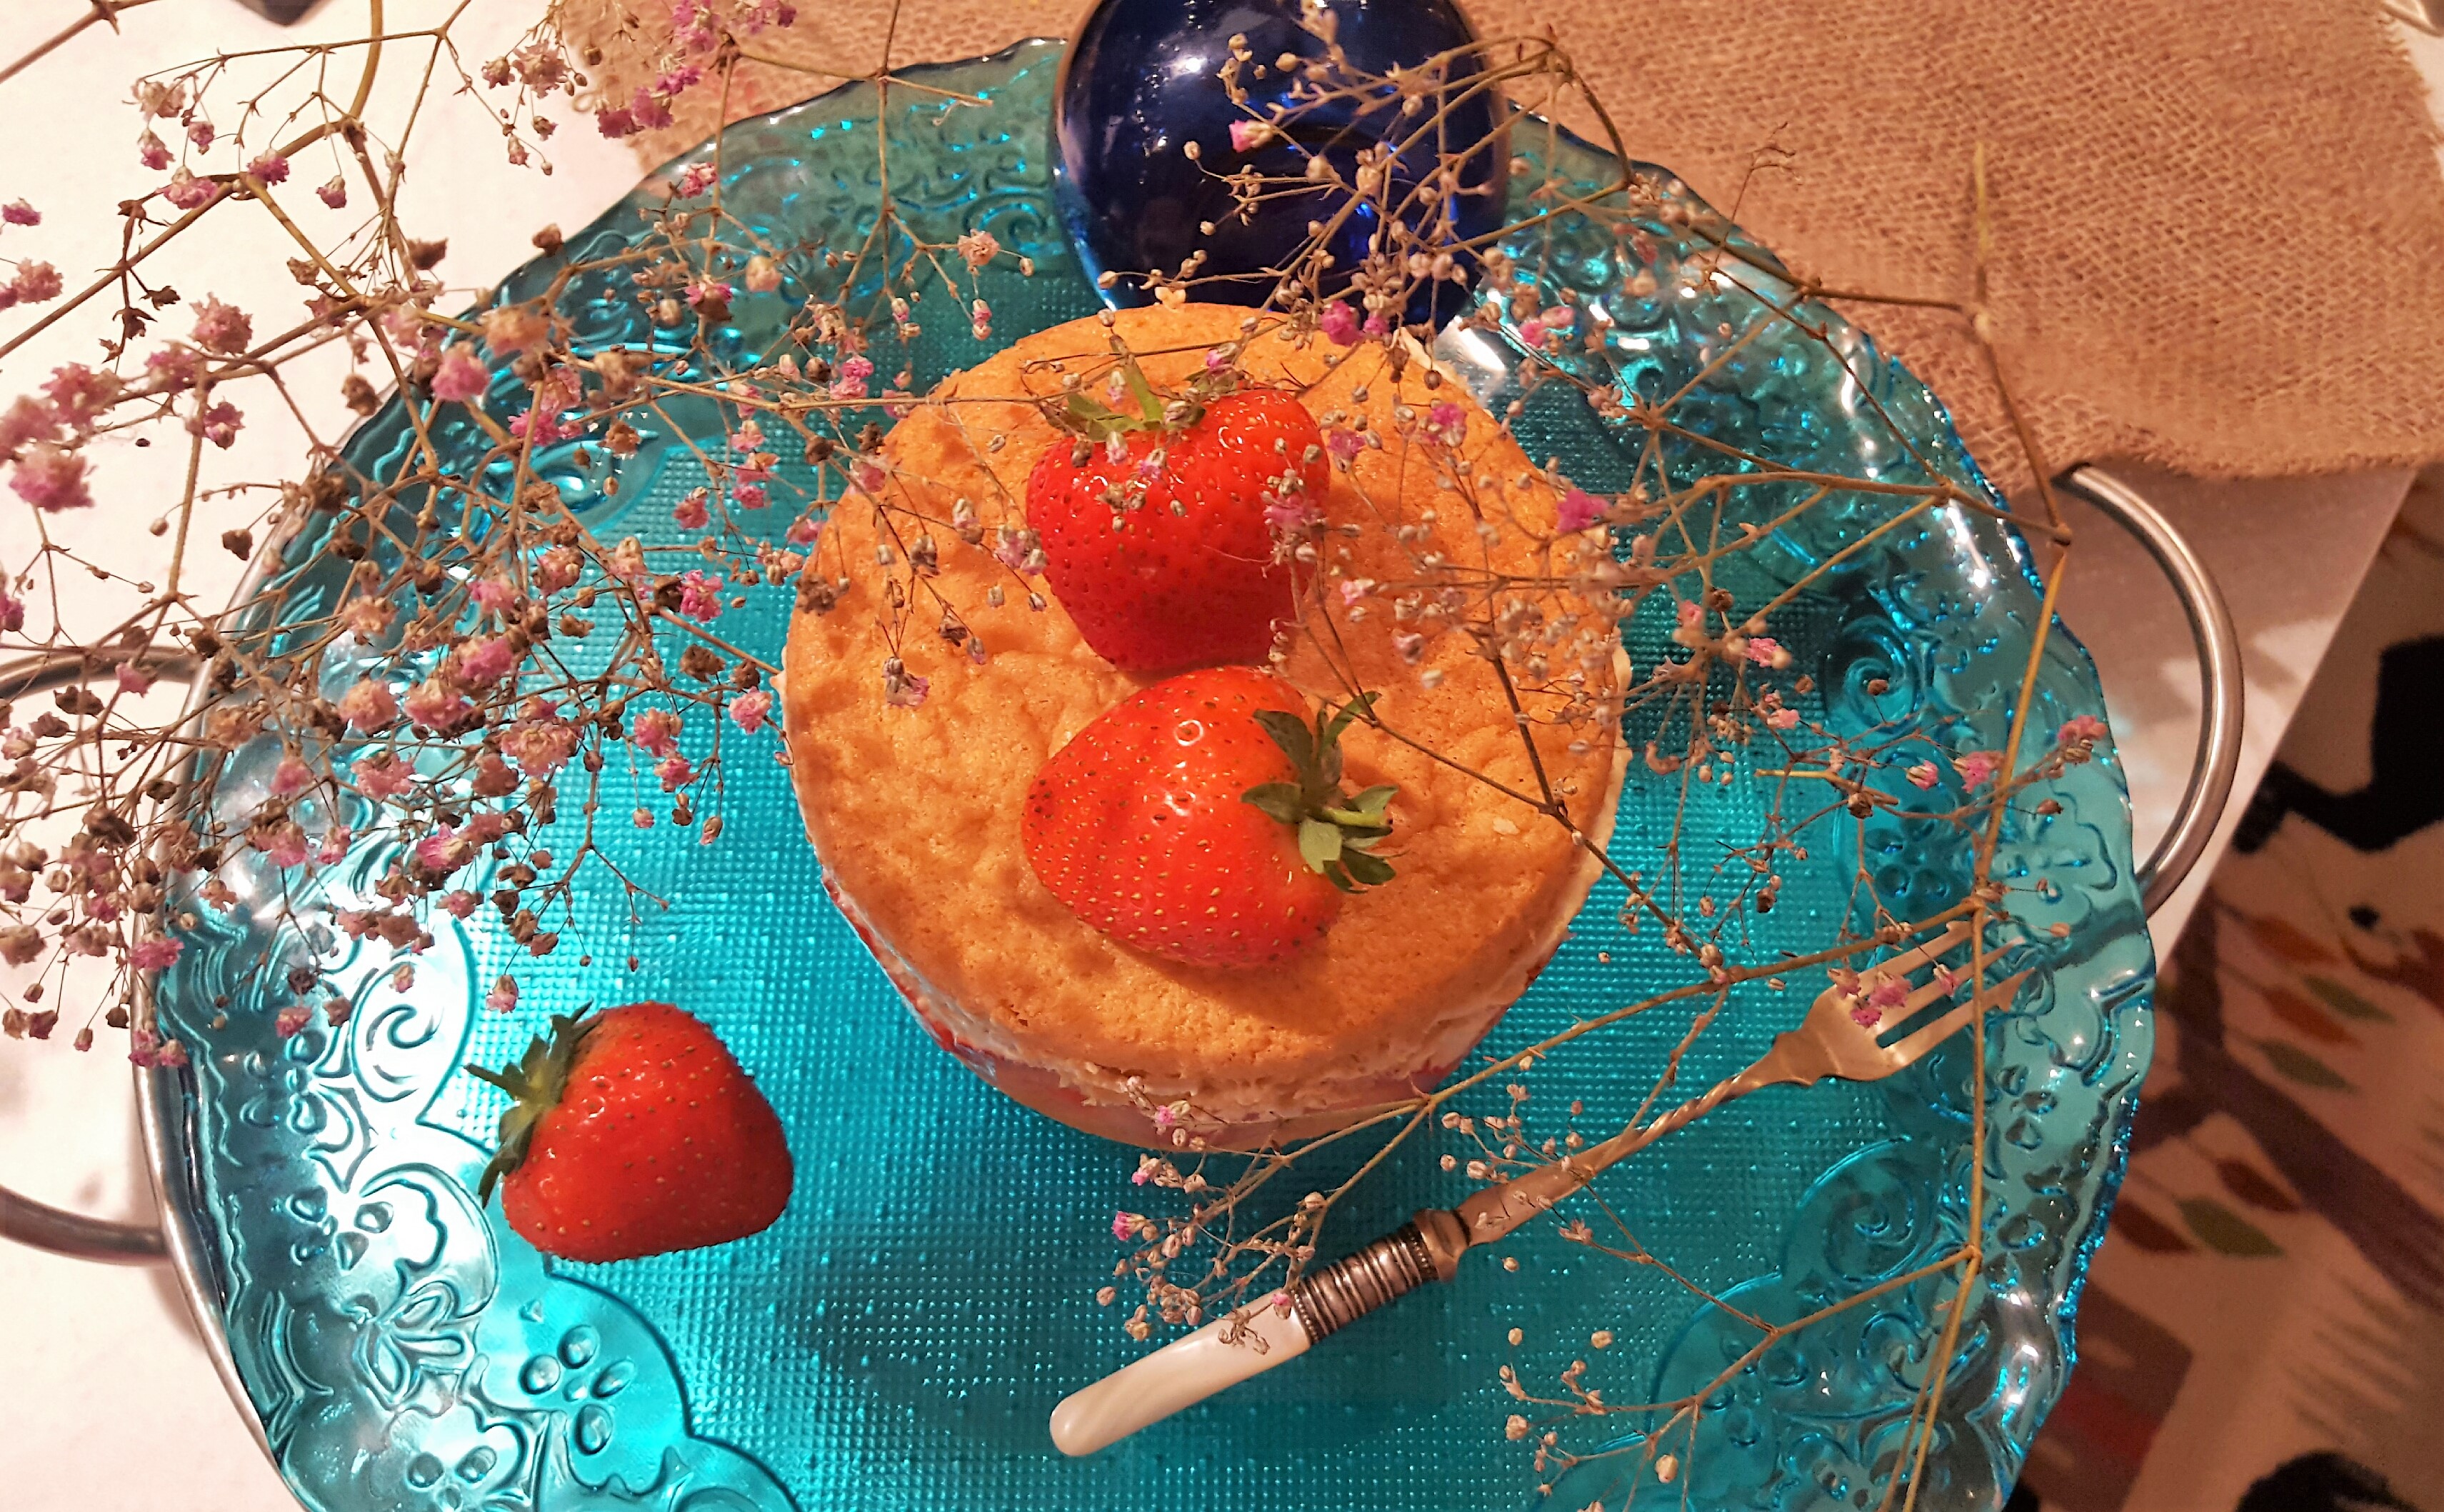
- Slice the sponge in half horizontally, creating two slim discs of cake. The cut must be as level as possible as it will be visible in the finished cake as seen on video.
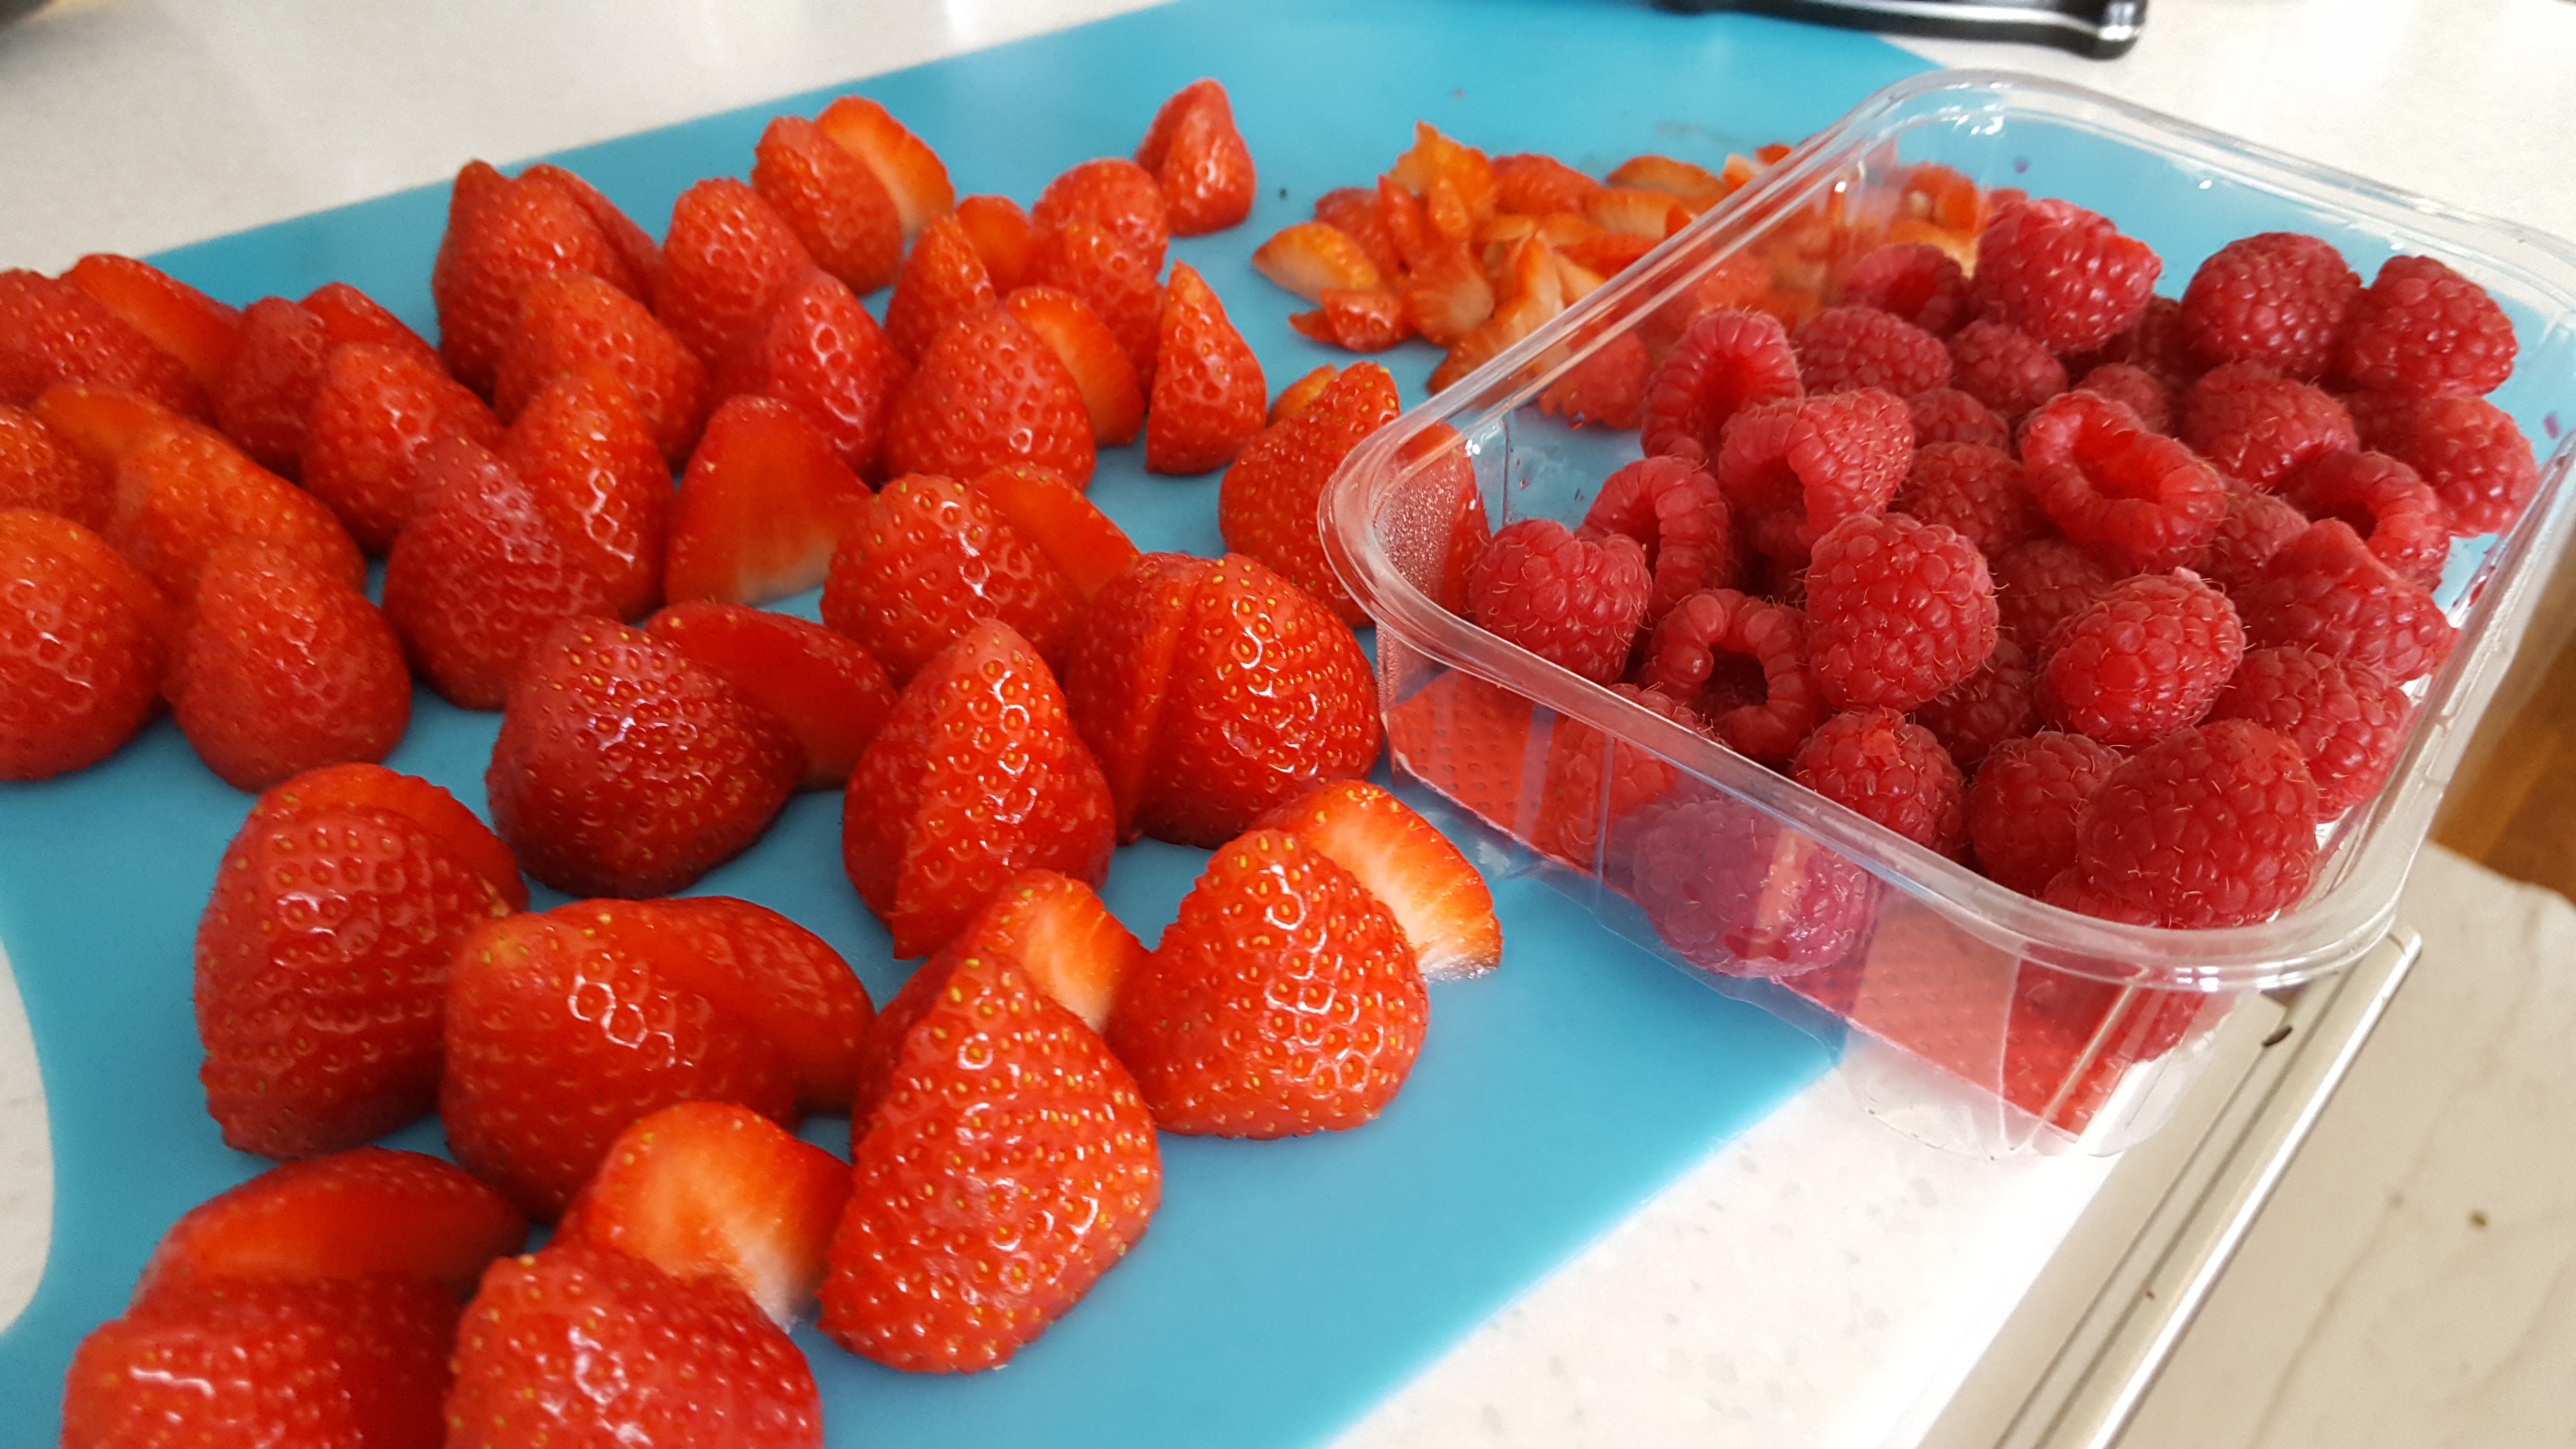
- Hull the strawberries and cut in halves, making sure they are all the same height. The pieces of strawberry left will not be wasted, cut into small pieces to arrange inside to sandwich between the cake and cream later. Keep a few to decorate later.
- I tend to use a spring form tin, and here I am using the same tin I baked my cakes in. Cut a piece of parchment paper same as the base of the tin to line the bottom of the tin.
- Place one layer of sponge cake in the bottom of the cake tin. Then liberally brush the sponge with some syrup, as seen on video. Gently push the sponge cake so it takes the shape of the tin and sits well against the edge.
- With the back of a spoon, gently squash the edges of the cake down so that they are pushed directly against the sides of the tin in order that you get a more defined an even edge around when you unfold.

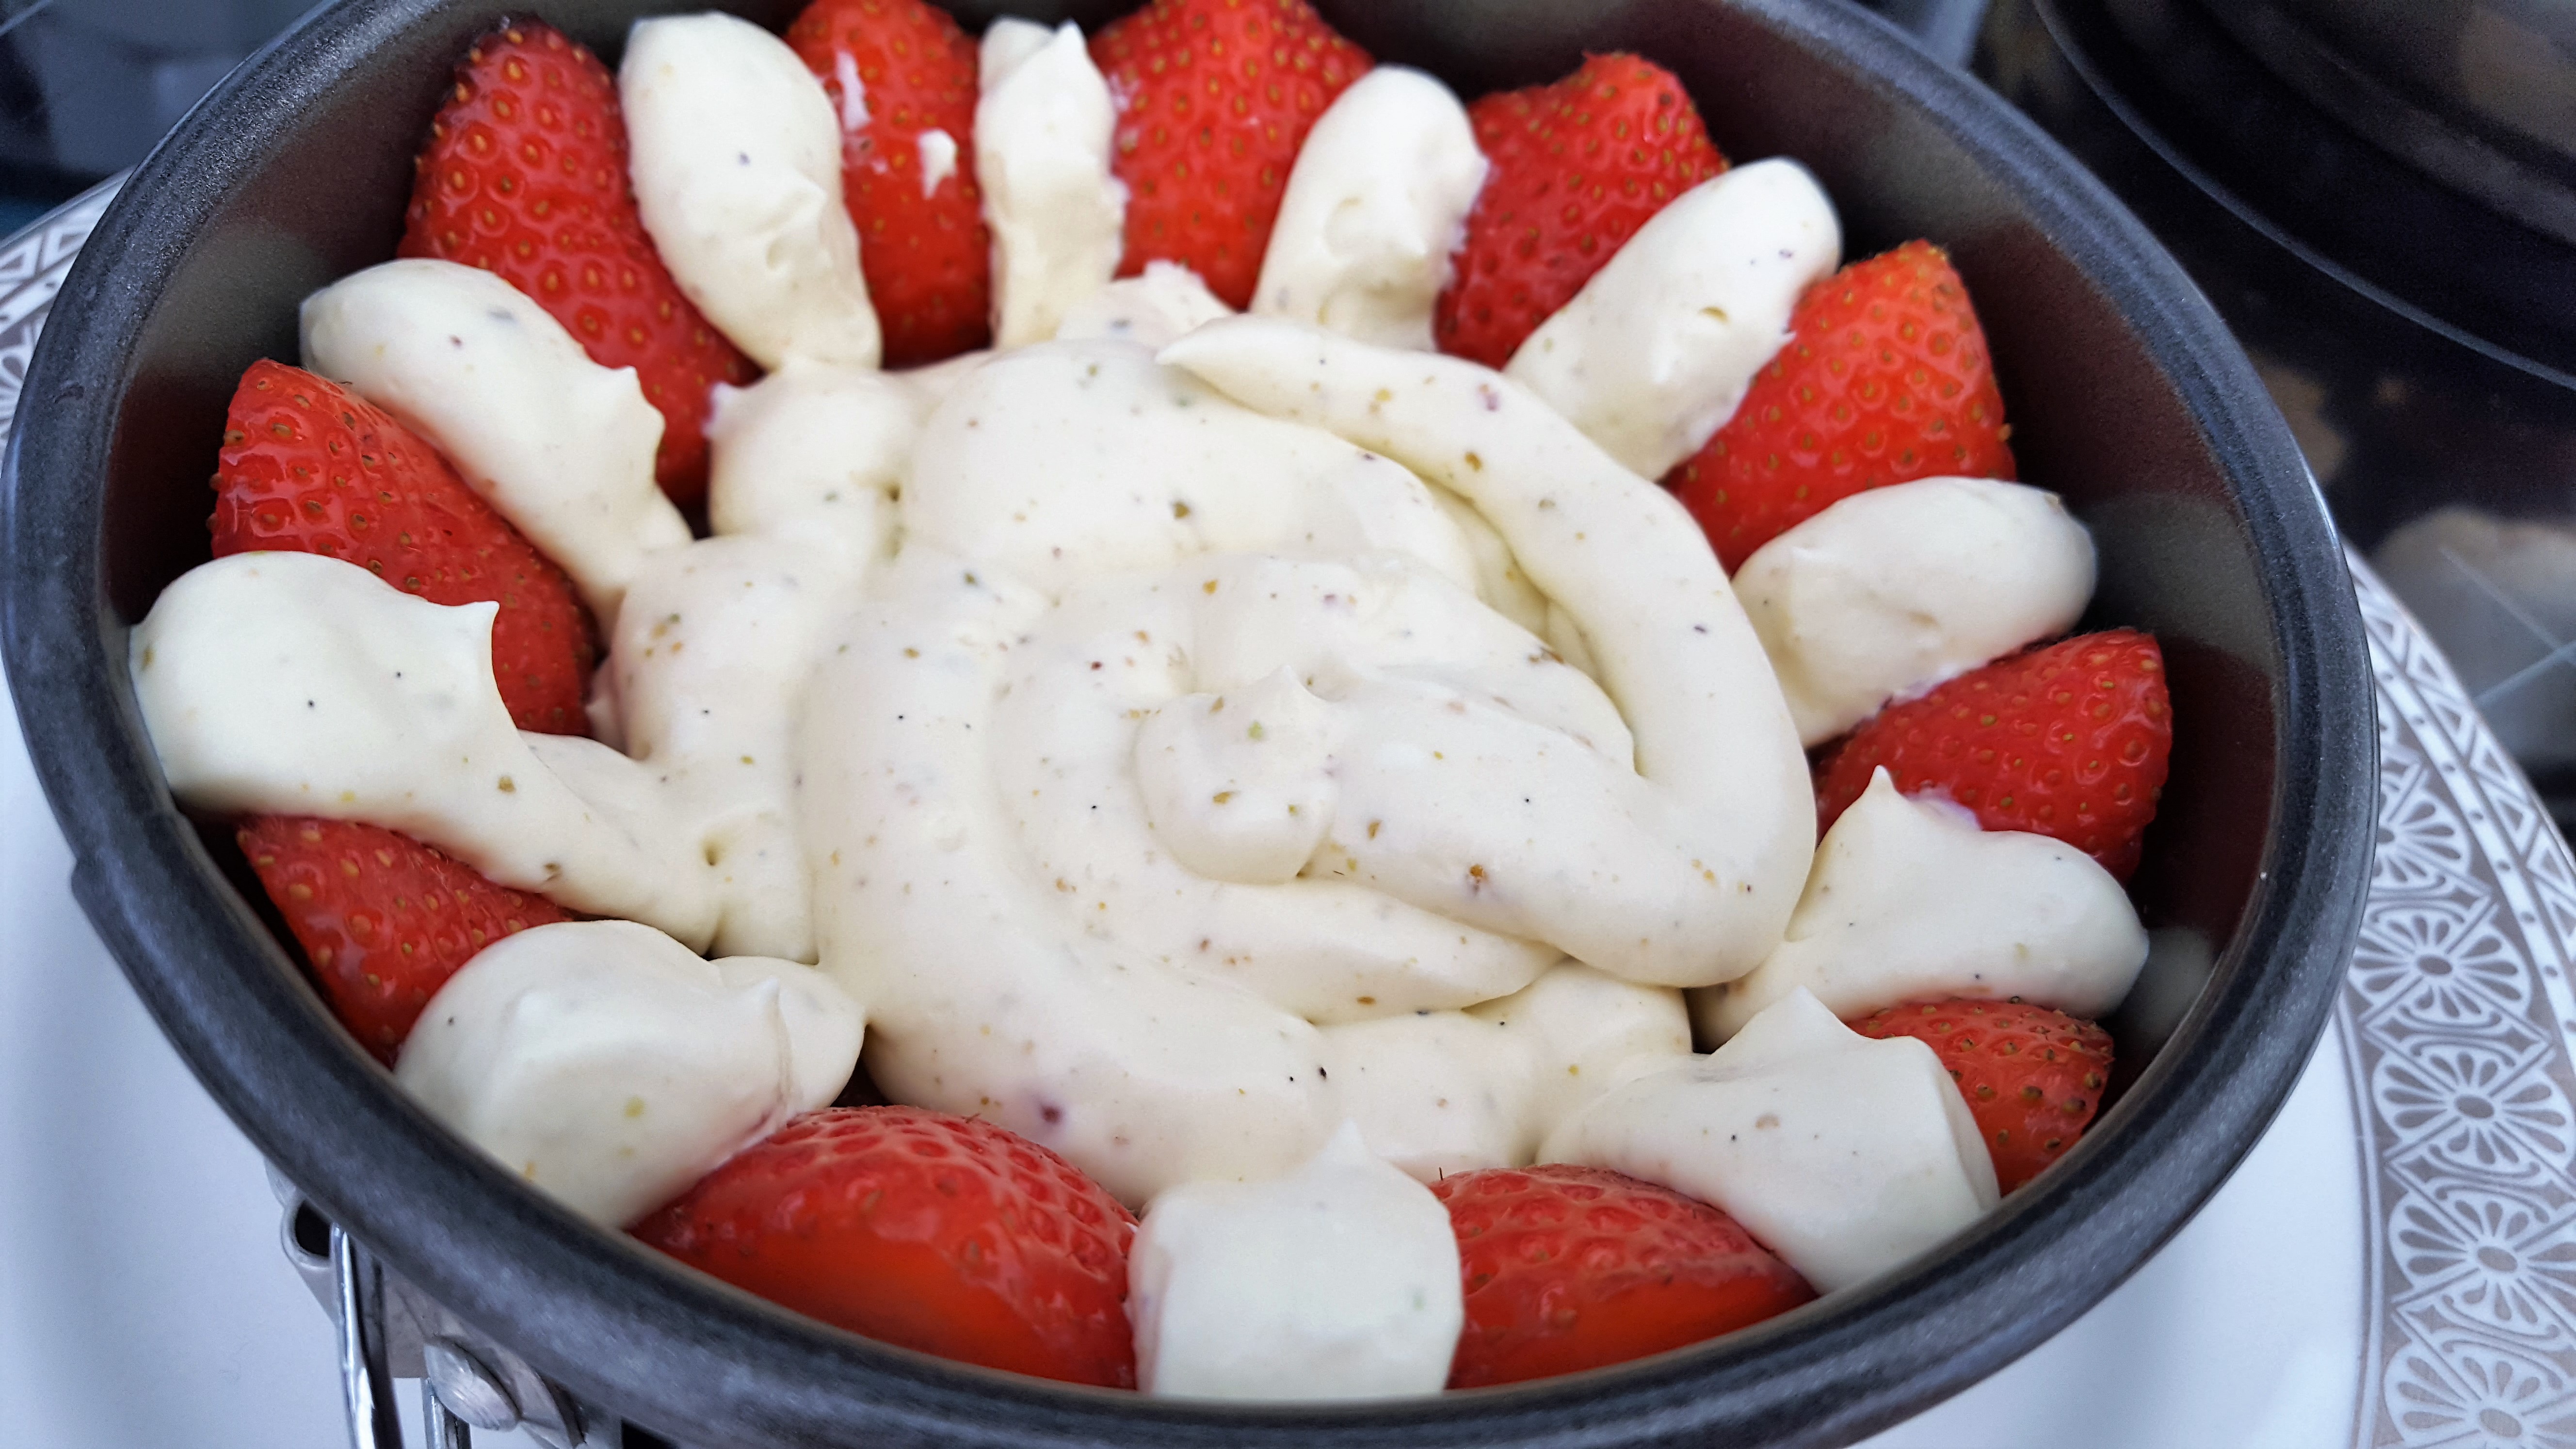
- Now watch careful the video, place the cut sides of the strawberries against inside of the tin. The strawberry halves should be sitting snugly beside each other, so it looks all tidy and beautiful on the inside the tin.
- Take the chilled crème mousseline place in piping bag fitted with a nozzle and pipe in the spaces between the strawberries, as seen on video. Pipe more cream to cover the cake as seen, using a palate knife smoothen the surface then cover with the second layer of cake. Press gently using your hand to sit the cake slice nicely on the cream.
- Cover the cake with Clingfilm and refrigerate to allow the cake to set.
- When ready to unmould, remove from fridge, remove the cling film and carefully release the spring tin/loose bottom and remove the cake from the tin.
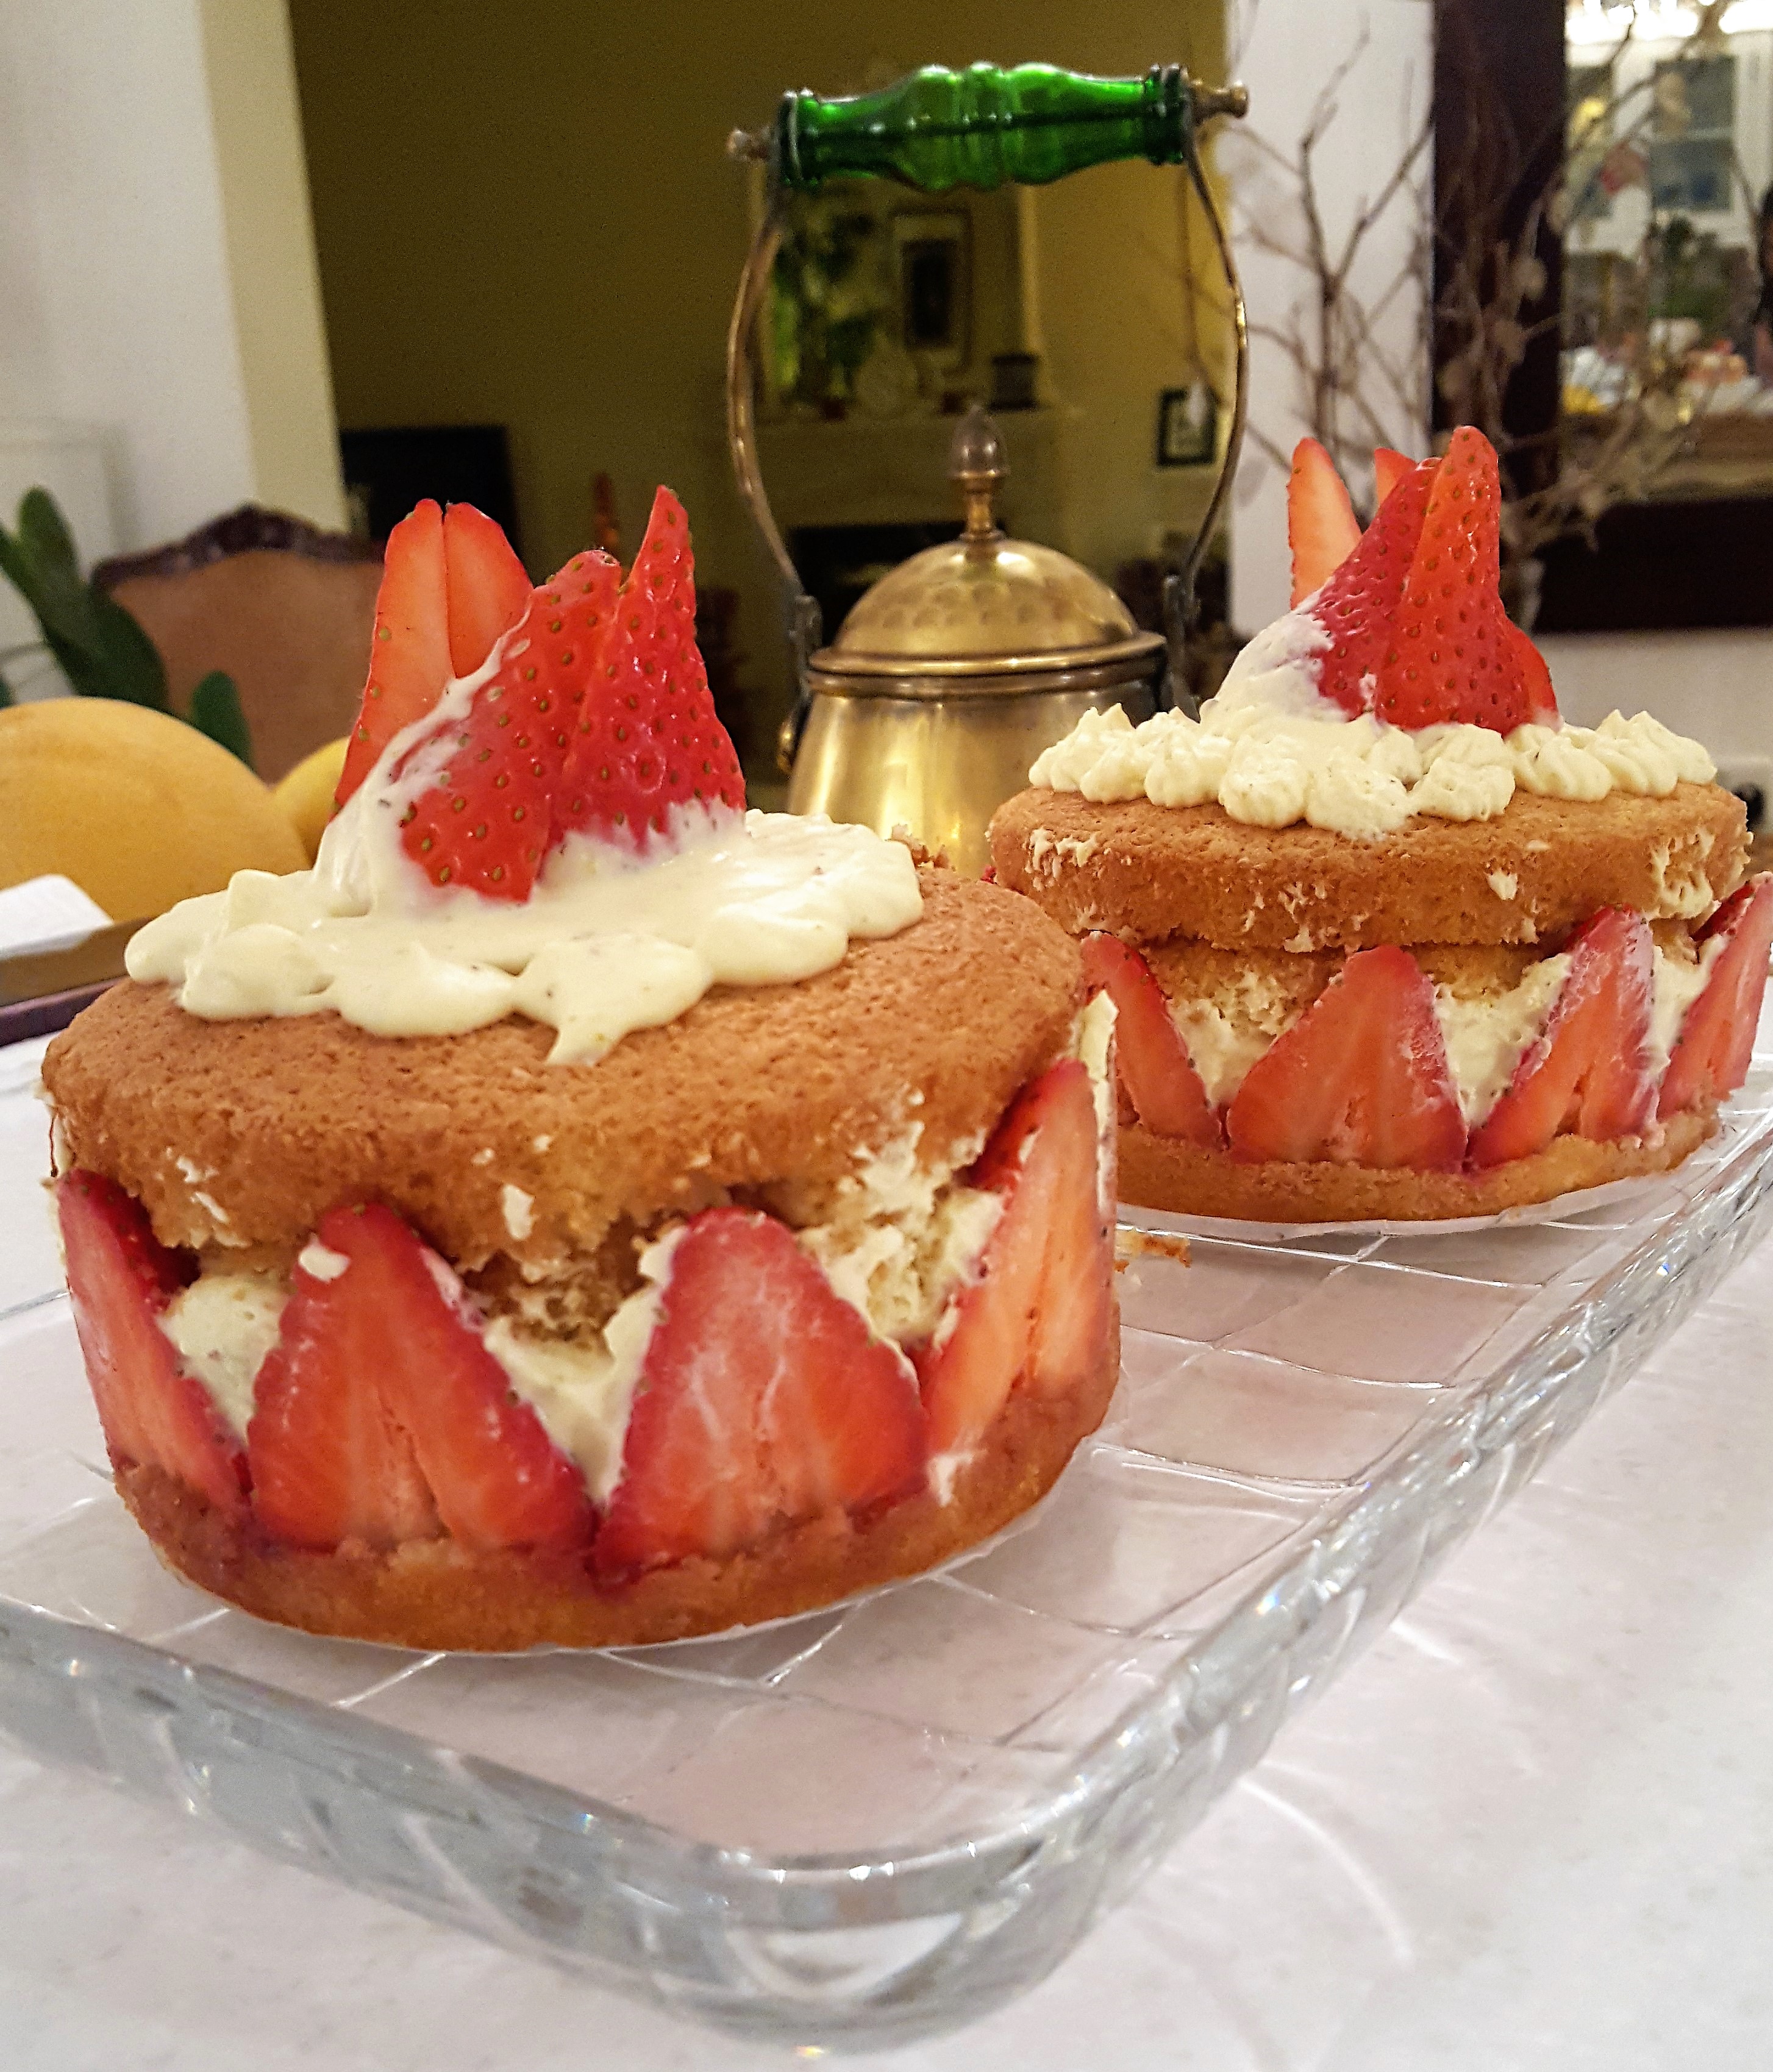
- Place on a serving plate and decorate either with marzipan or cream piping and the reserved strawberries. Decorate as you wish, the choice is yours.

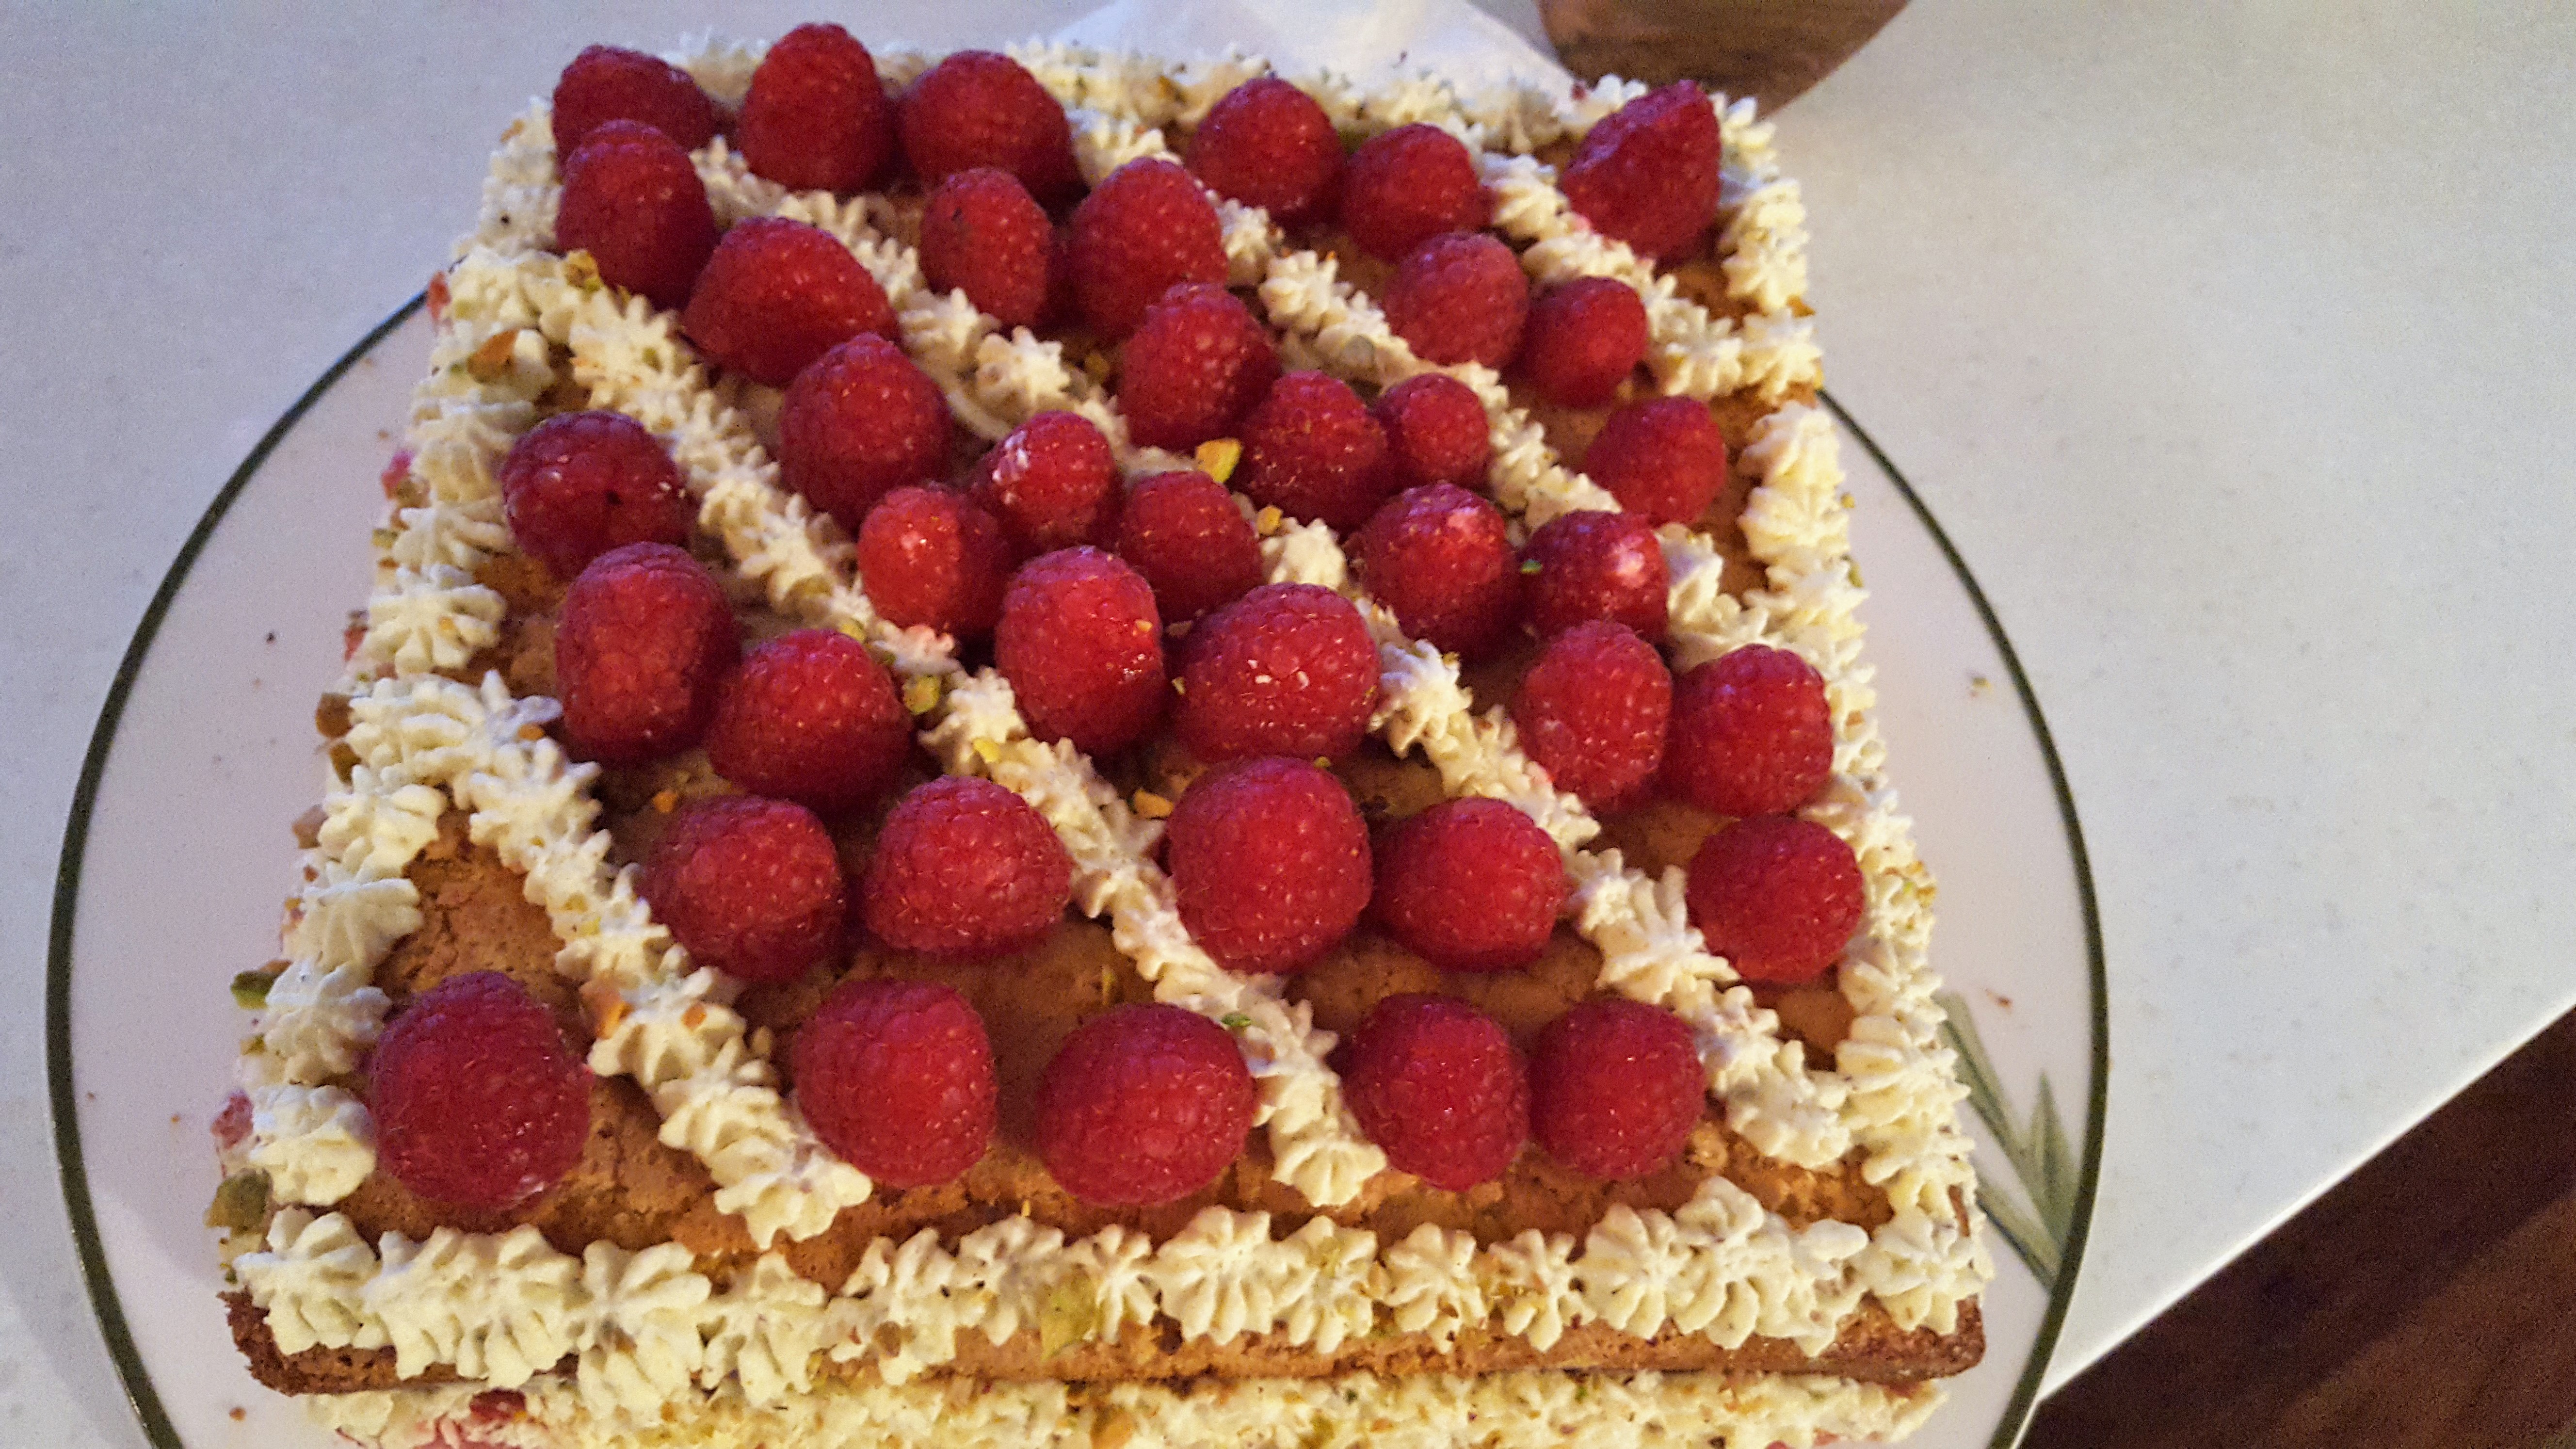
Brinda’s Note: You can do this cake with Raspberries instead of Strawberries.