
Home Made Ghee – Clarified Butter
Today it is all about Ghee. For those who don’t know what I am relating to, well in simple terms it is clarified butter. As its name suggest it made from butter, which is cooked until you end up with a smooth textured cooking fat. It has a more intense flavour than original butter and for that reason a little bit goes a really long way in cooking.
It is a revered cooking ingredient in the Indian cuisine. Throughout my upbringing I have been exposed to authentic food prepared by my mother. This exposure has made me more aware of the food I now prepare and consume. Watching my mother cook has given me the love I have now for preparing things from scratch – homemade. In doing so it makes me appreciate the food better,and I am very much one for non-additives in food as much as possible.
Although my recipe is different to that of my mother. The way mum used to do was more time consuming and needed even more patience. Every day when she boiled milk, she would remove the top creamy film that is formed on the milk, removed with care and kept in a container (in the fridge). Once mum had enough cream reserved she would whisk it all together and then cook the same way I do mine and her homemade ghee would be done.

In the old days when there was no fridge, in order to preserve this cream it would be kept in an earth bowl. And it is the one thing that Lord Krishna loved eating and was named “Makhan Chor” . The stories of Lord Krishna’s childhood and youth tell of his mischievous pranks as Makhan Chor (butter thief), he was very good at it too…………
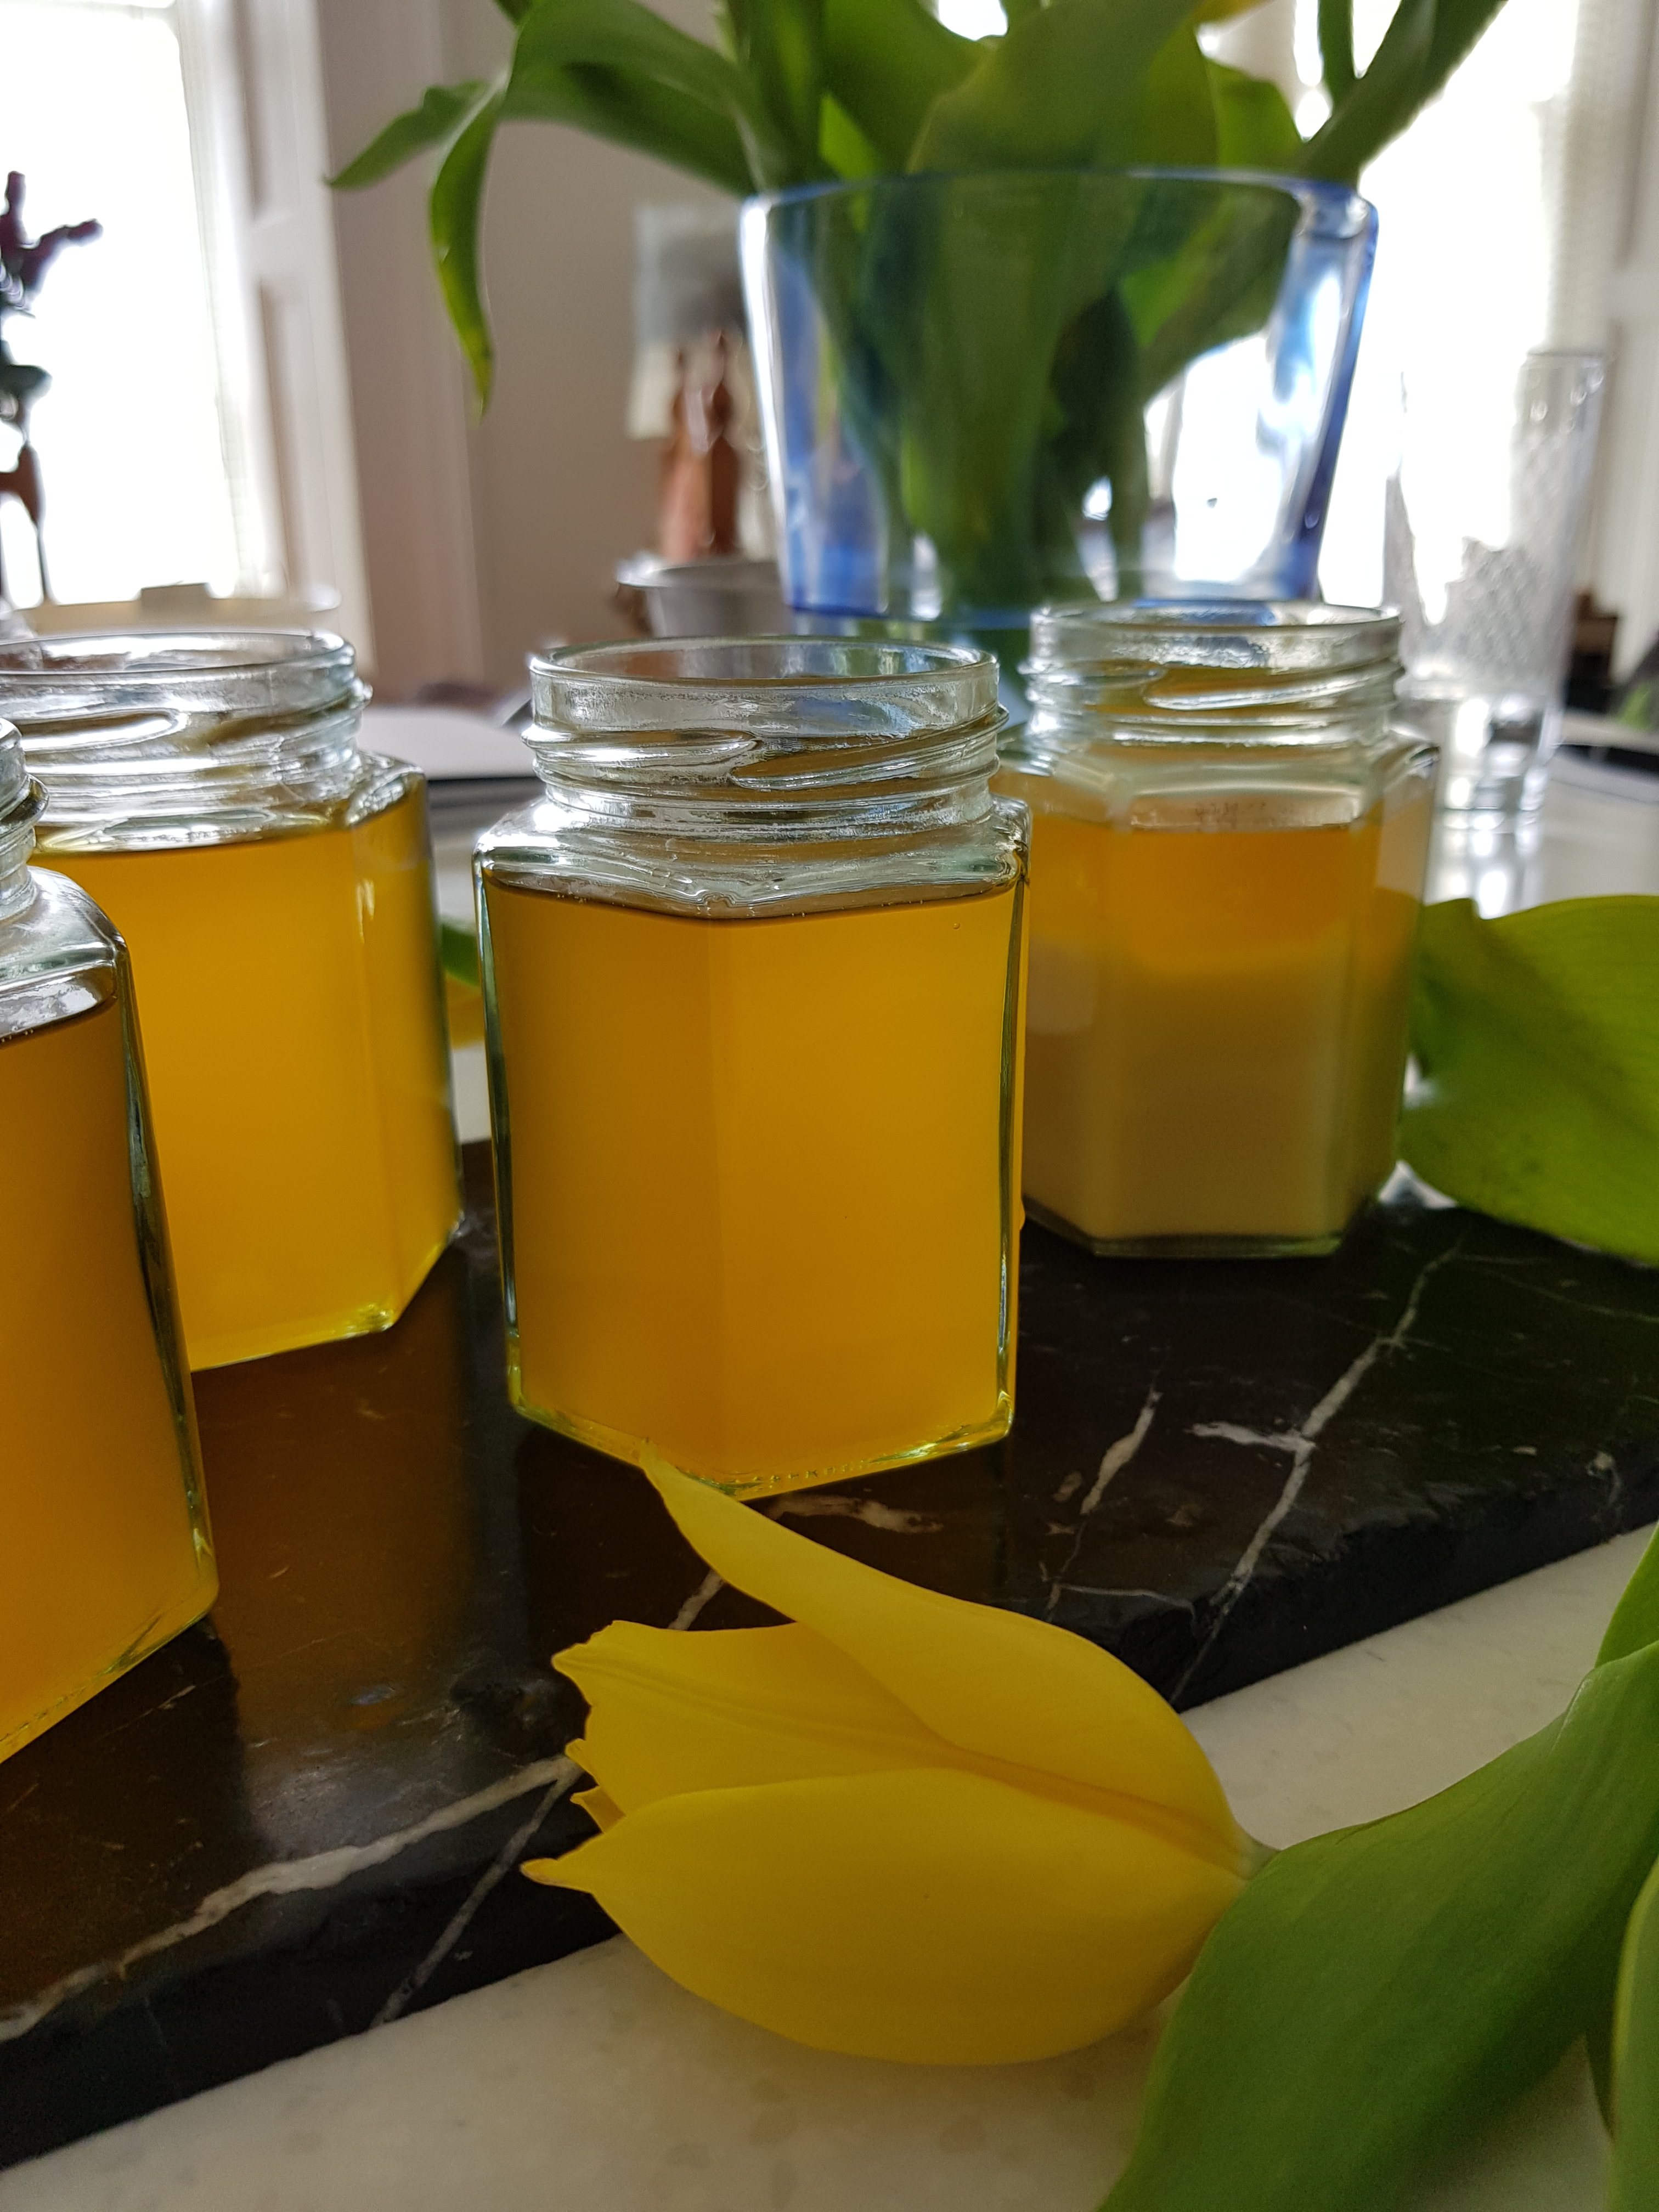
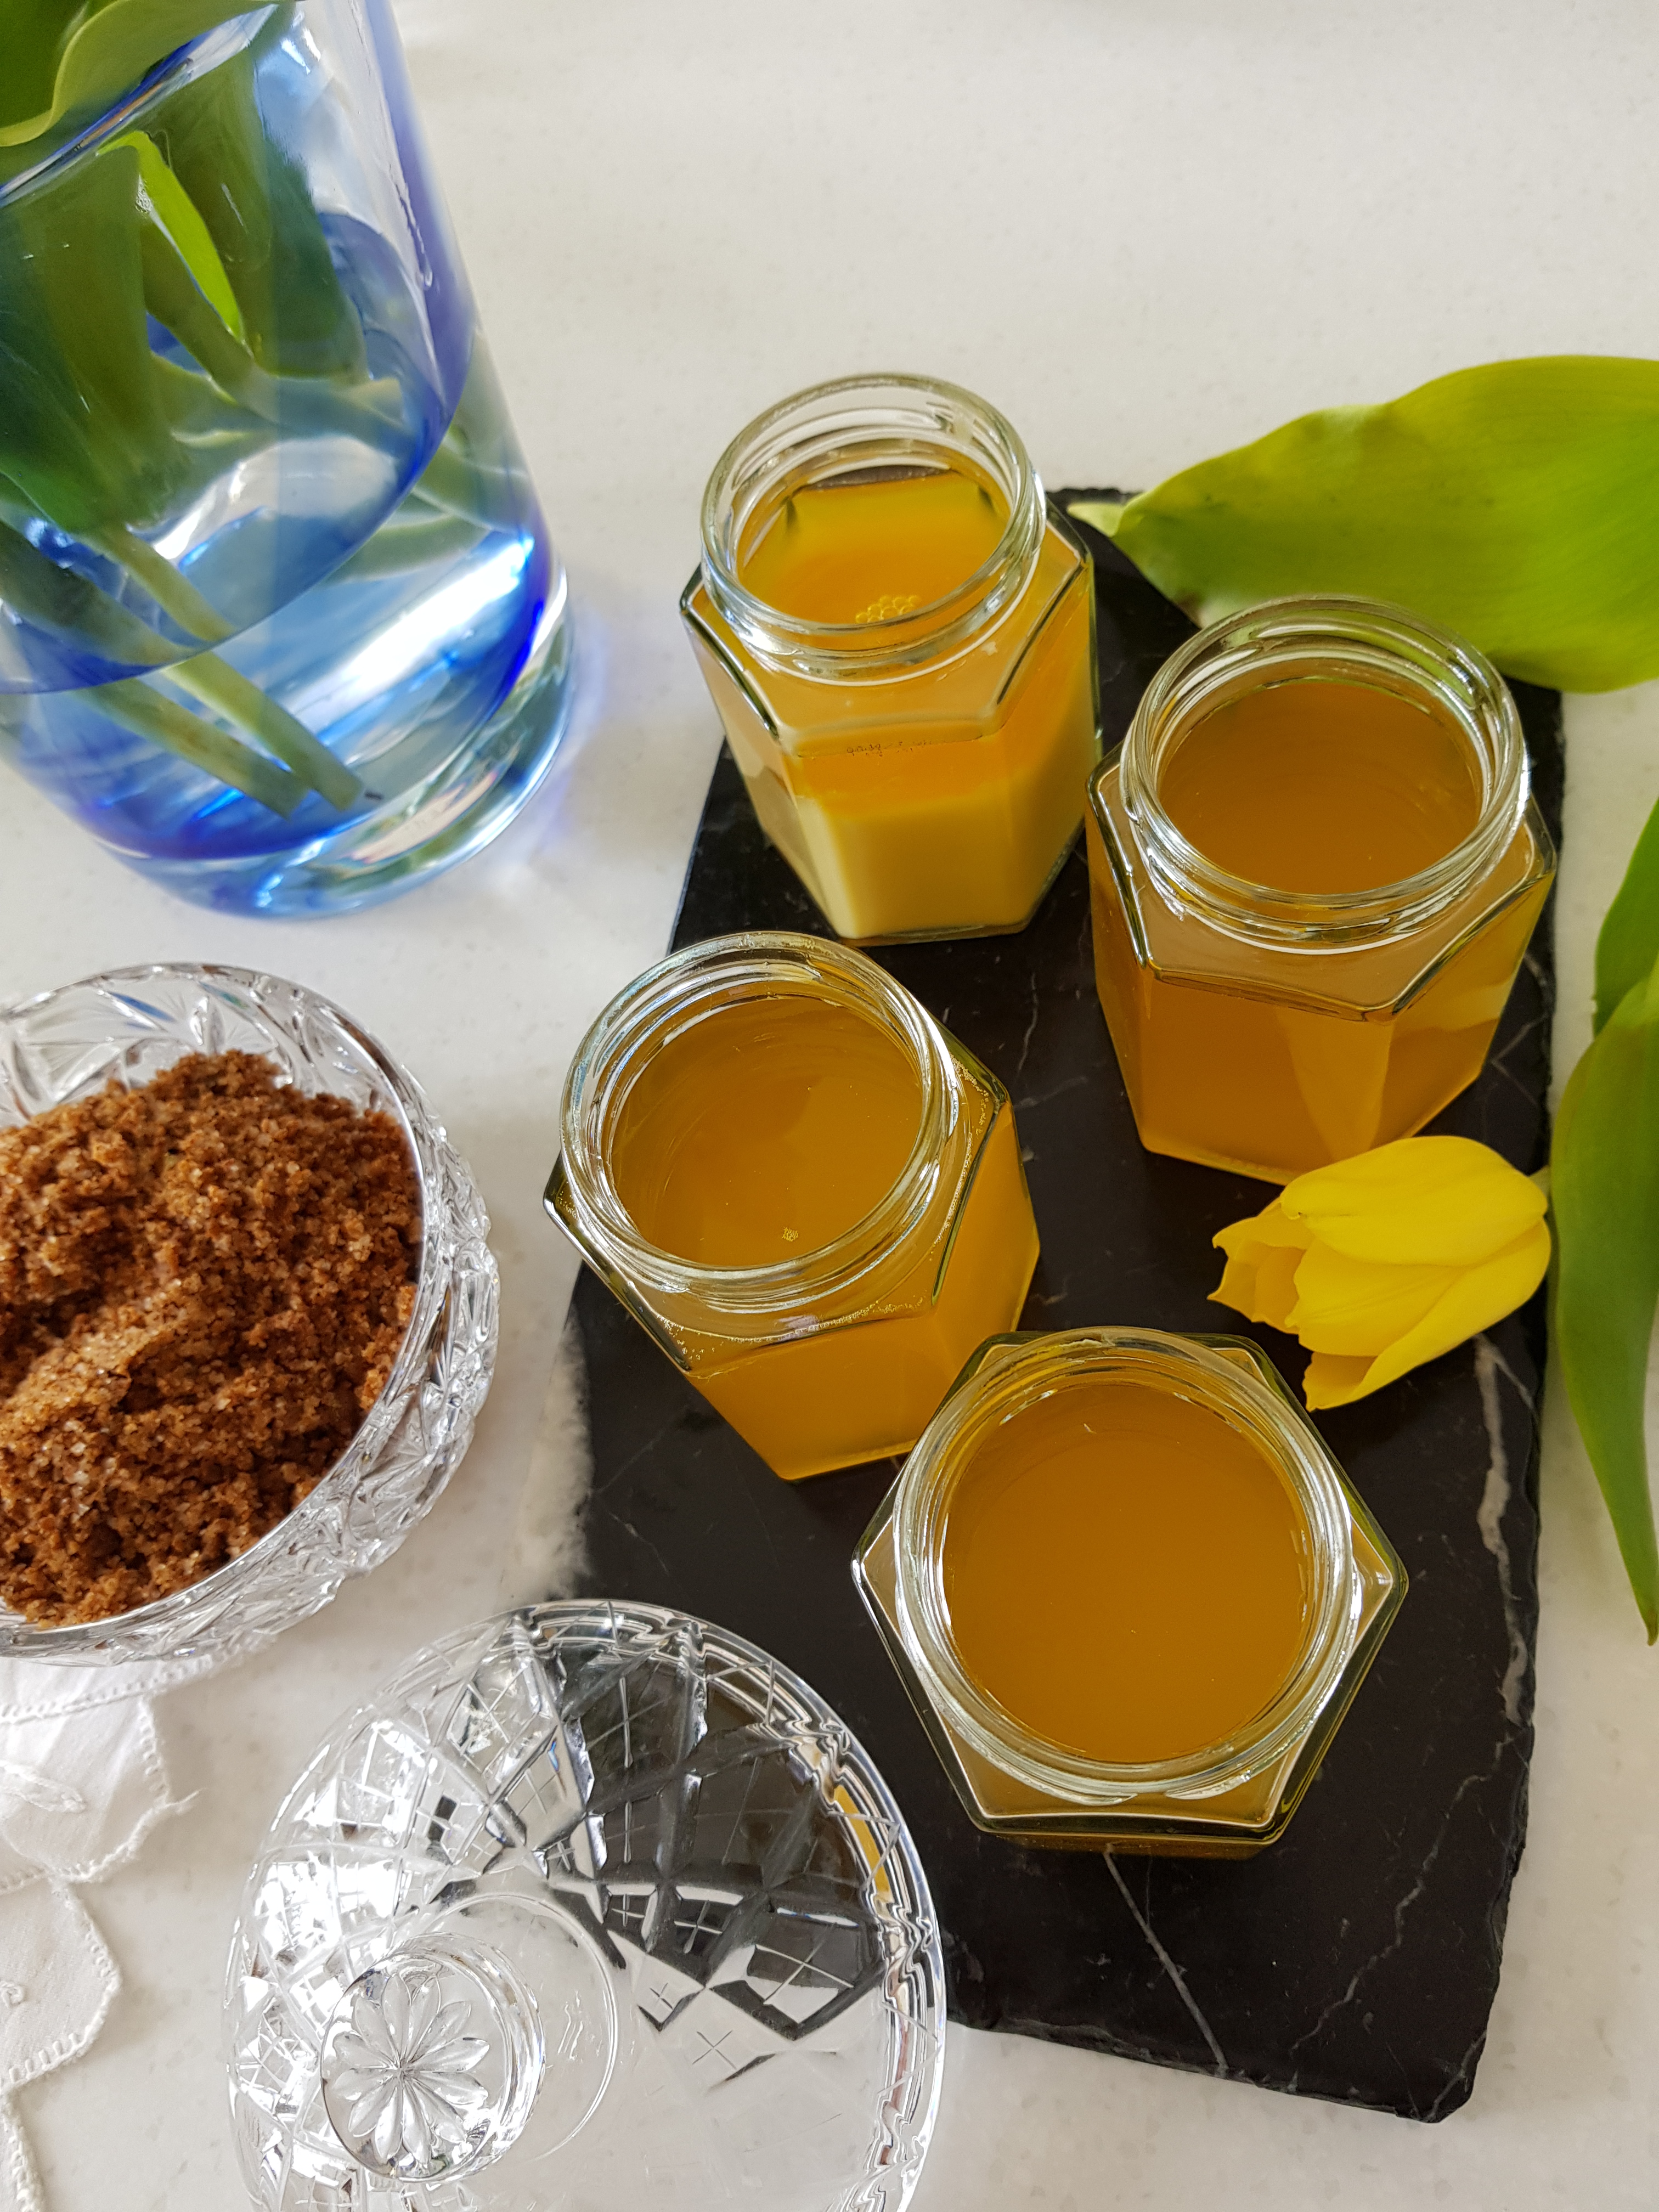
Today will be about this golden butter that many of us cook with. If you have used ghee before you will know how it enhances and enriches the flavour of food. It also has many benefits….
Its health benefit dates from the golden ages (for centuries) – reflect very much as it is referred to “liquid gold” because of its glossy, beautiful golden colour. Ghee is very a traditional ingredient and also considered sacred in some cultures. As it is made from the cow’s milk and we know the cow is considered as very sacred animal and used in religious ceremonies.
The Benefits of Ghee
Home Remedy: This is an old remedy but one I still do in the winter season. If your suffer from a dry cough or wheezy chest, take a small teaspoon of pure ghee, melt it and add a little bit of clear honey and squeeze of lemon, take it on an empty stomach in the morning. I know some may say this sound ehhhh, but it works, acts like a natural lubricant it soothes the lining of the throat and stomach. It also helps a good digestion, meaning getting rid of unwanted toxins in the body, crudely speaking it helps to give you a regular bowel movement.
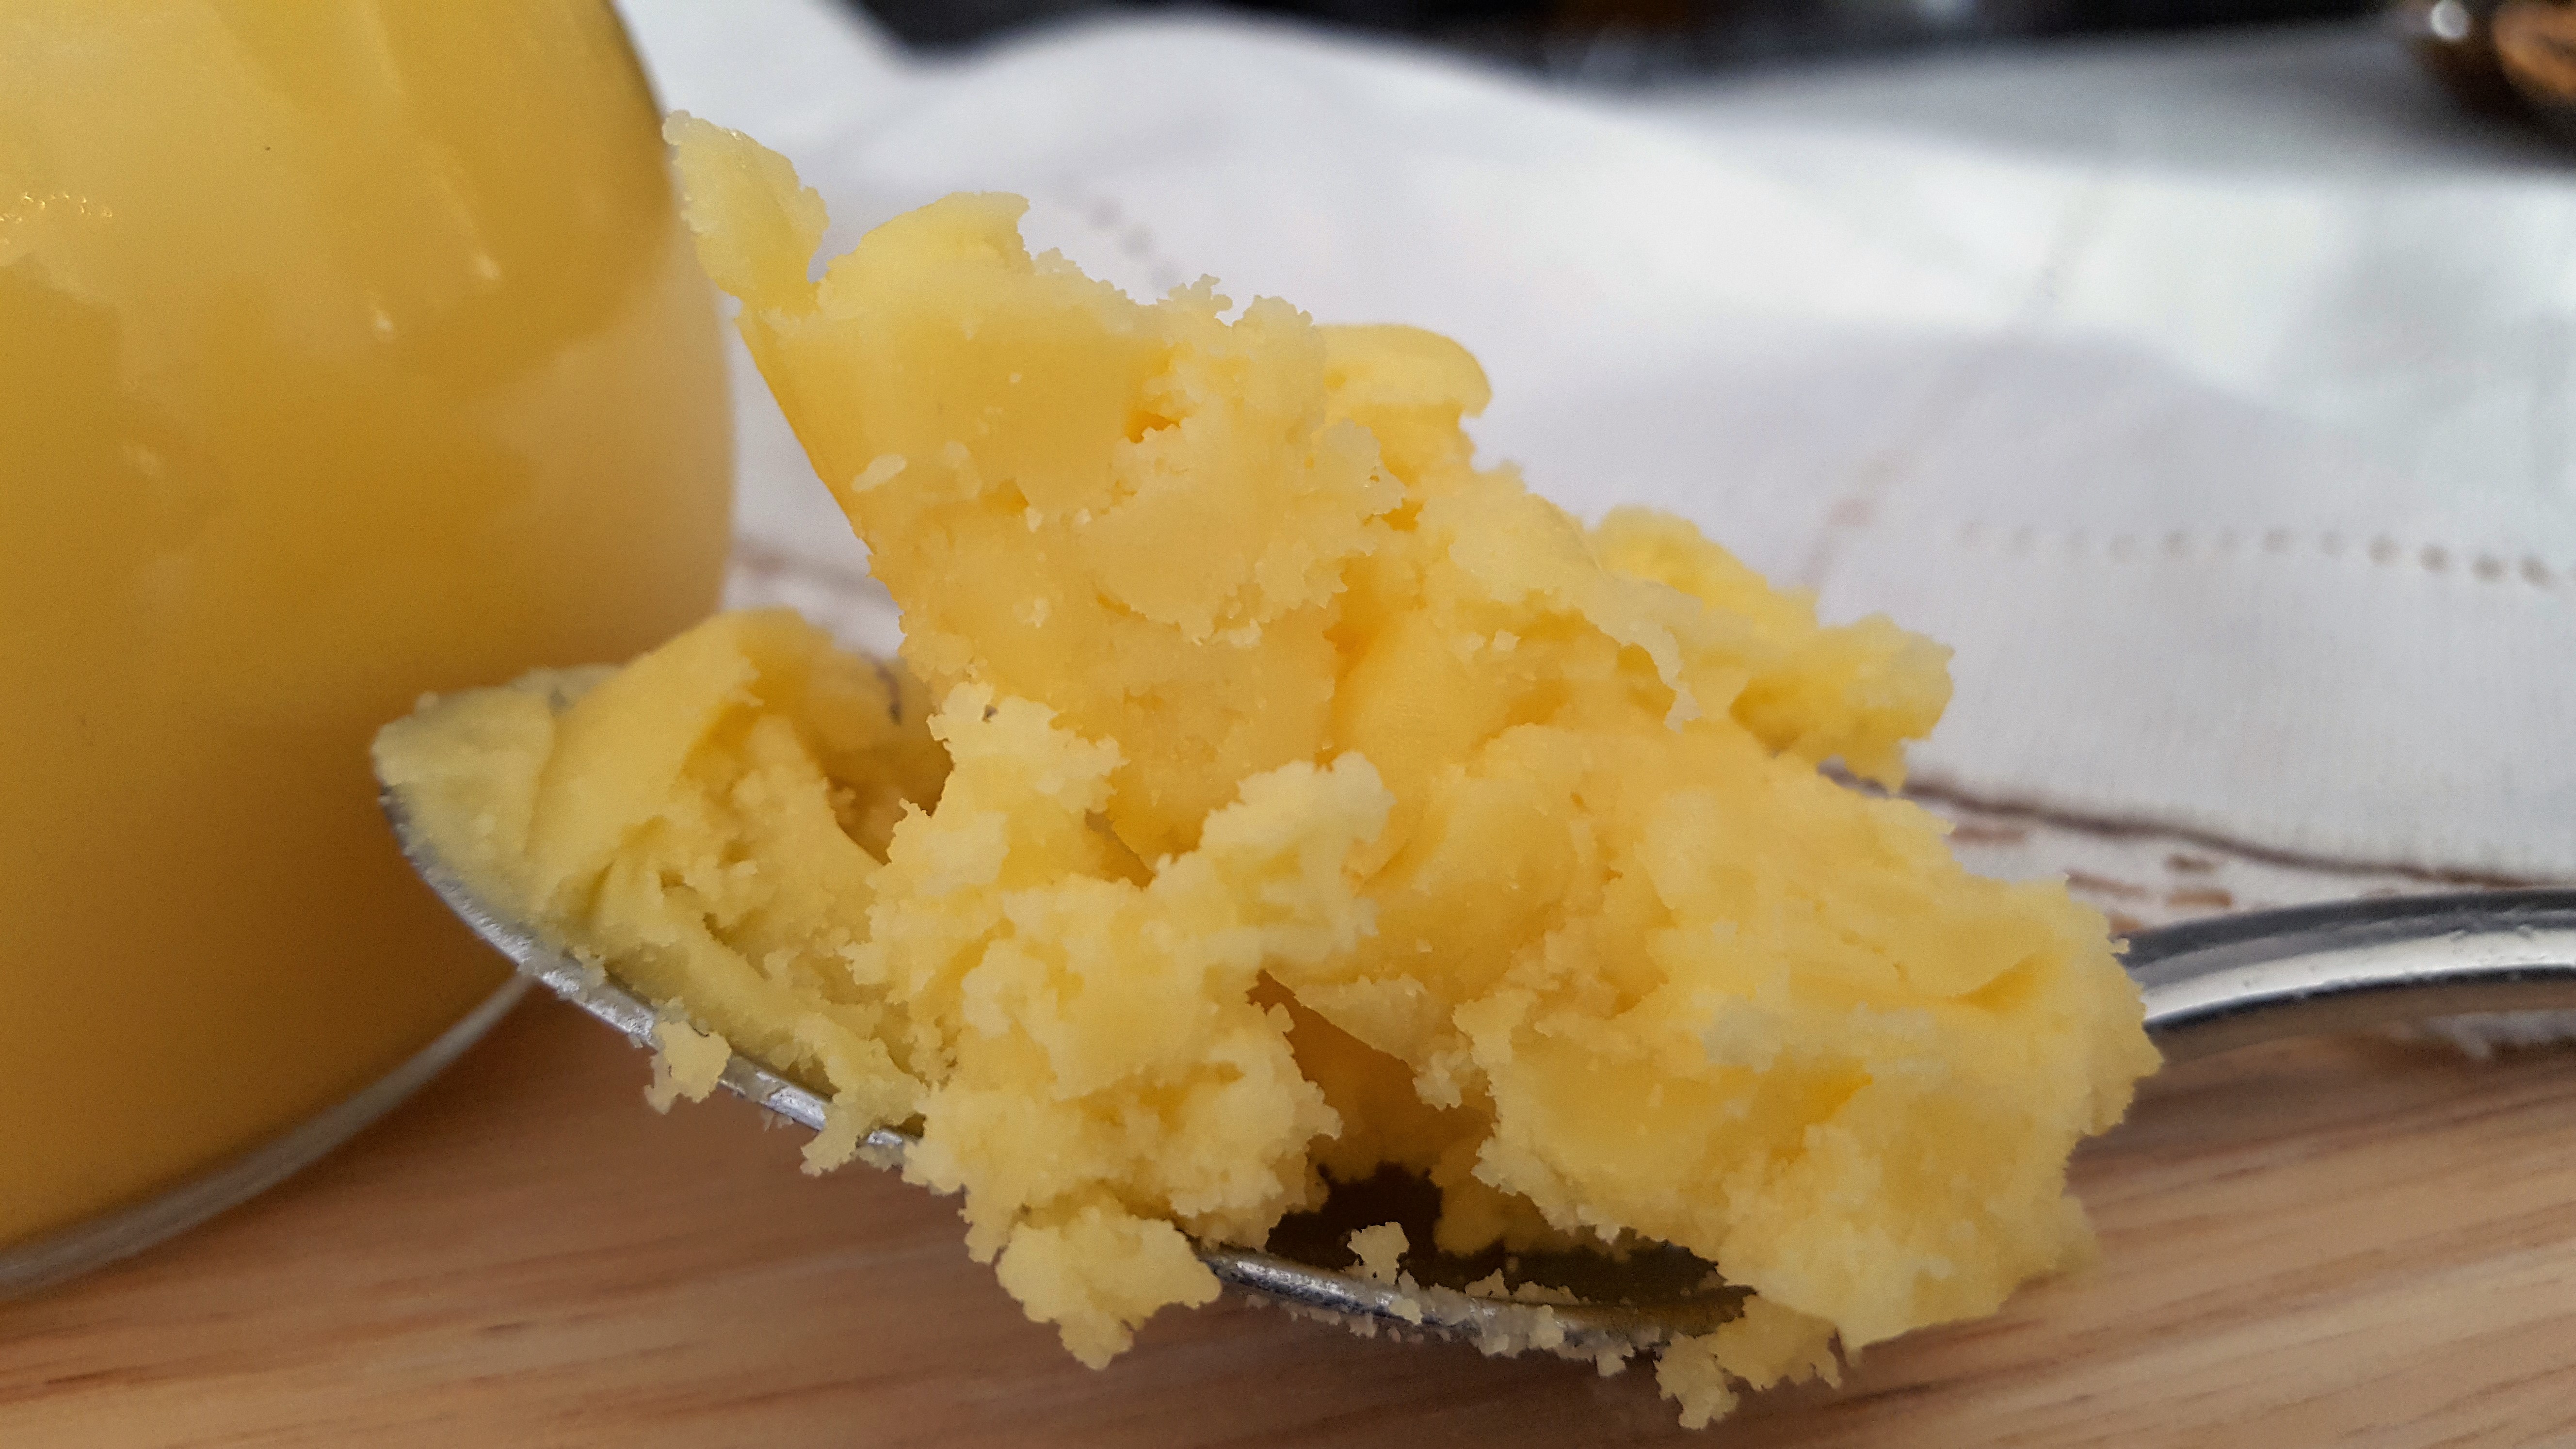
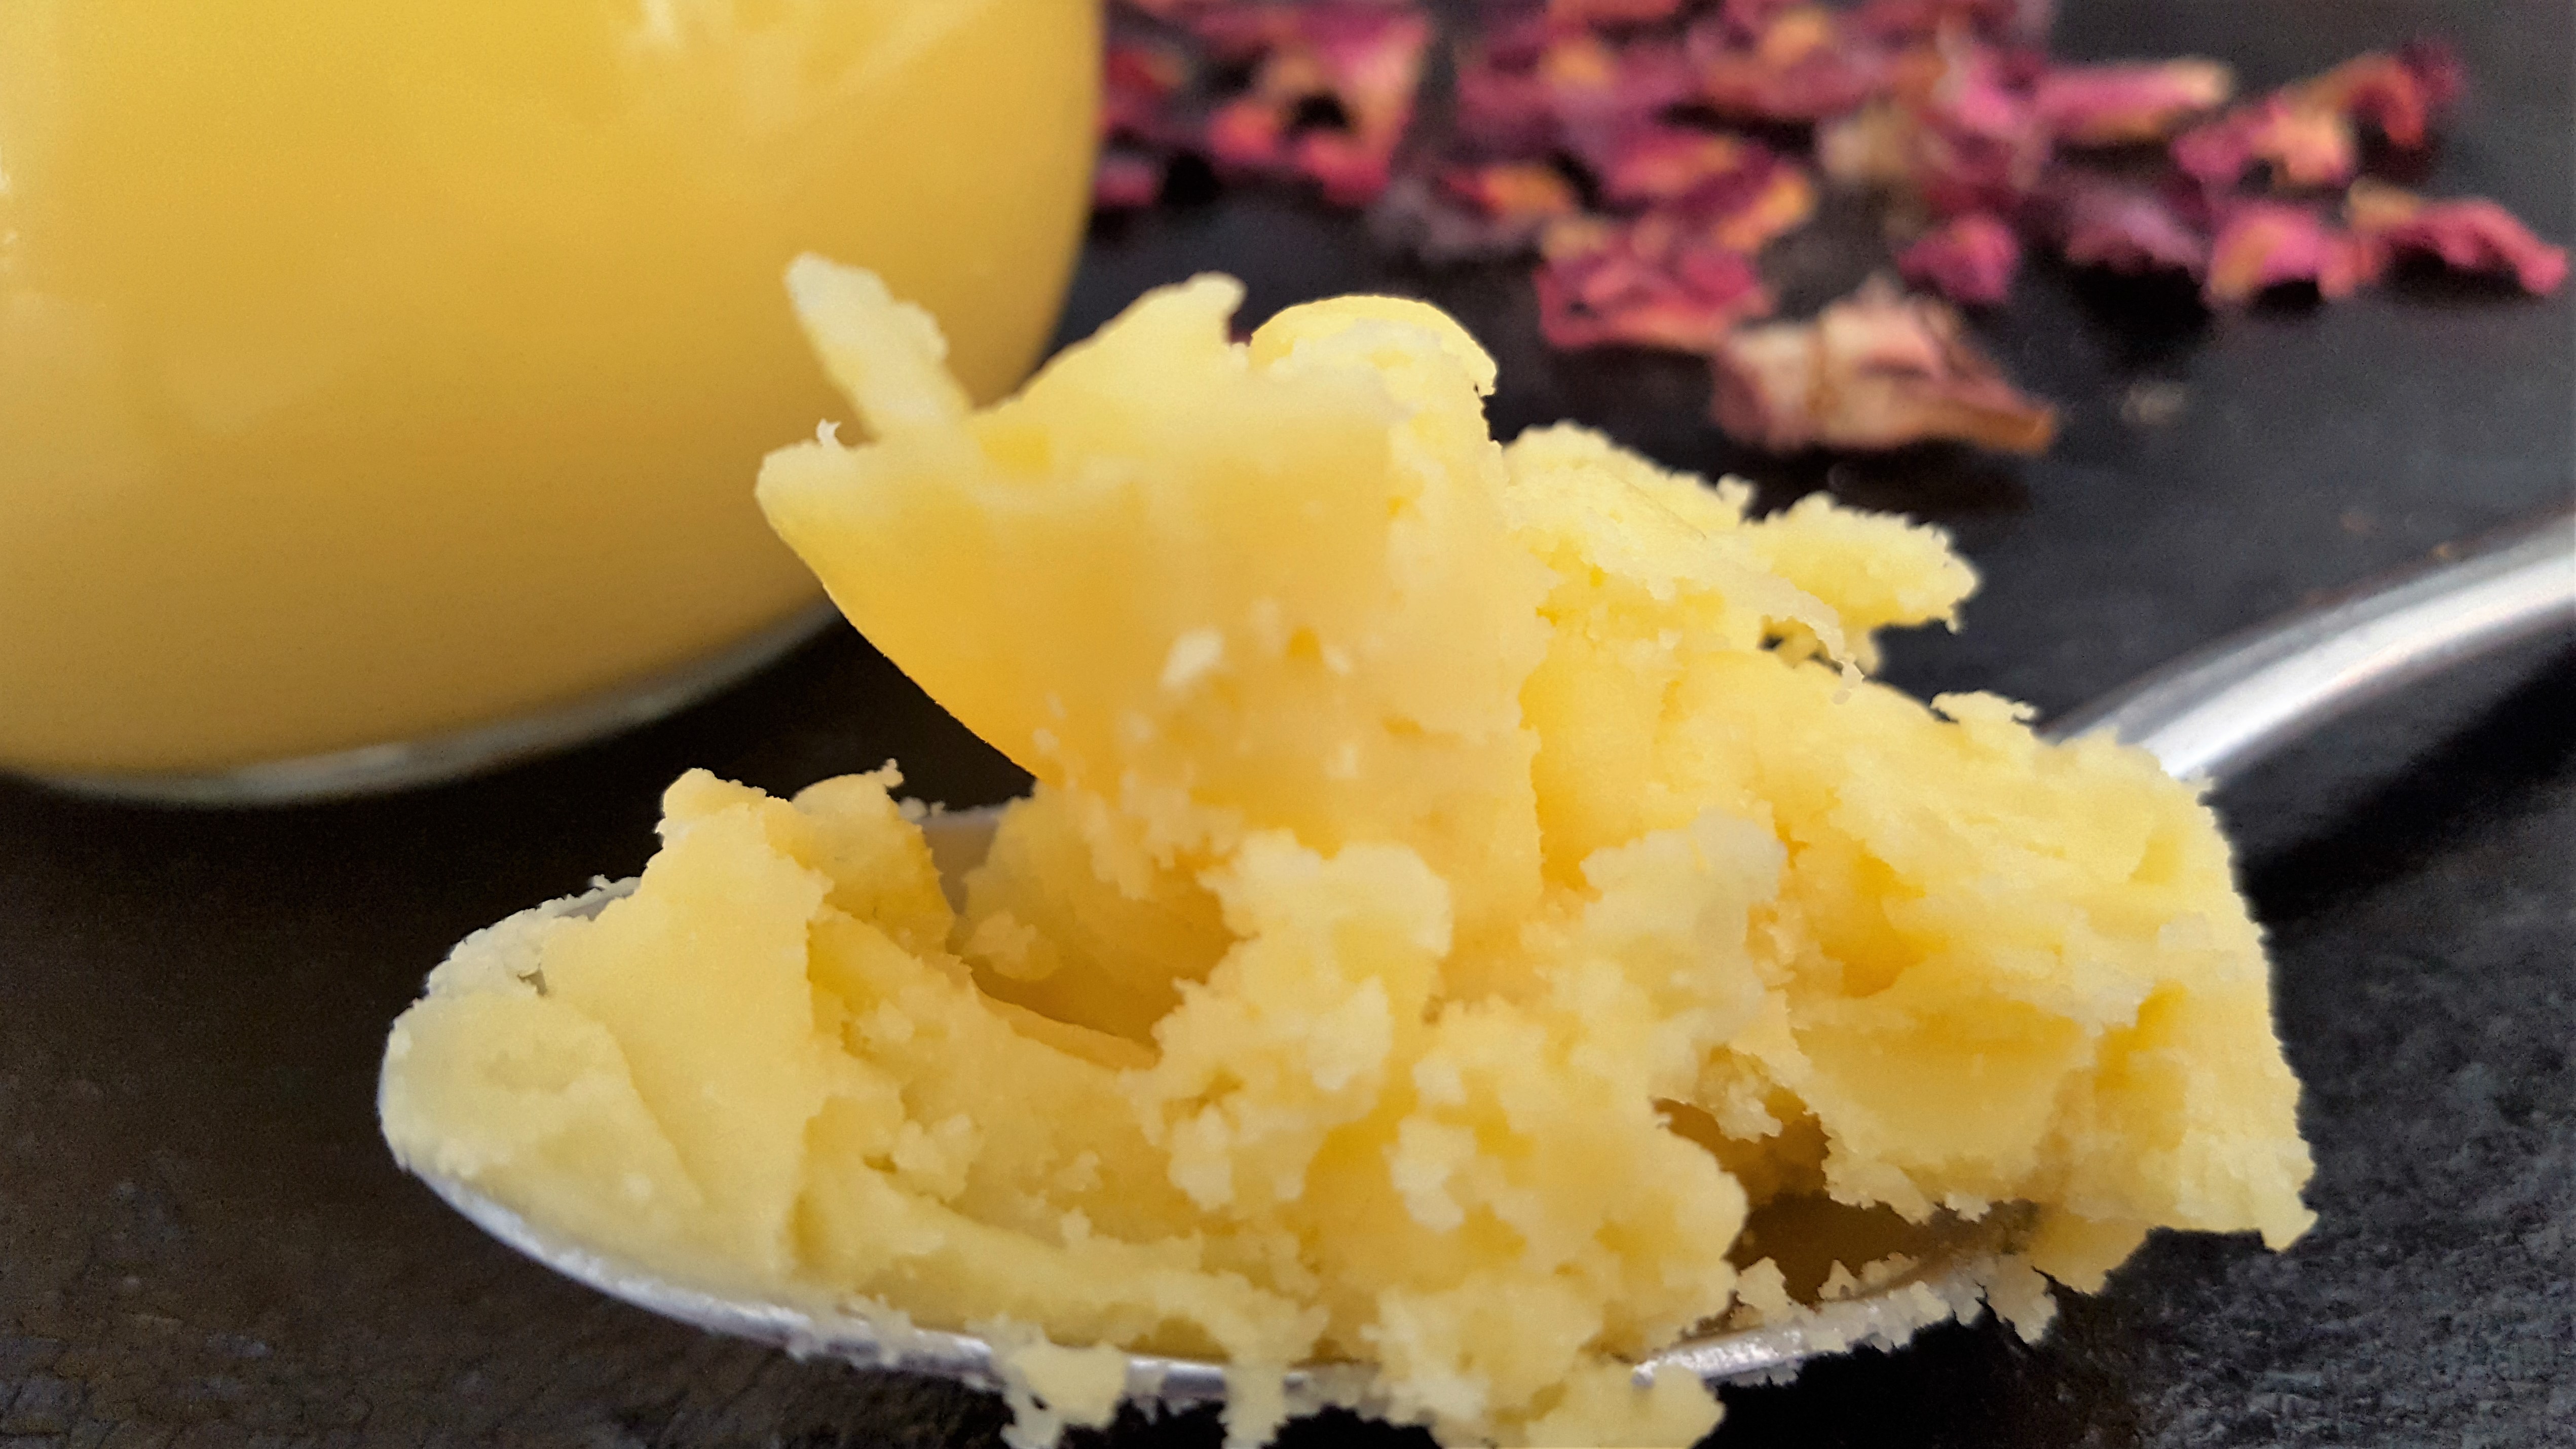
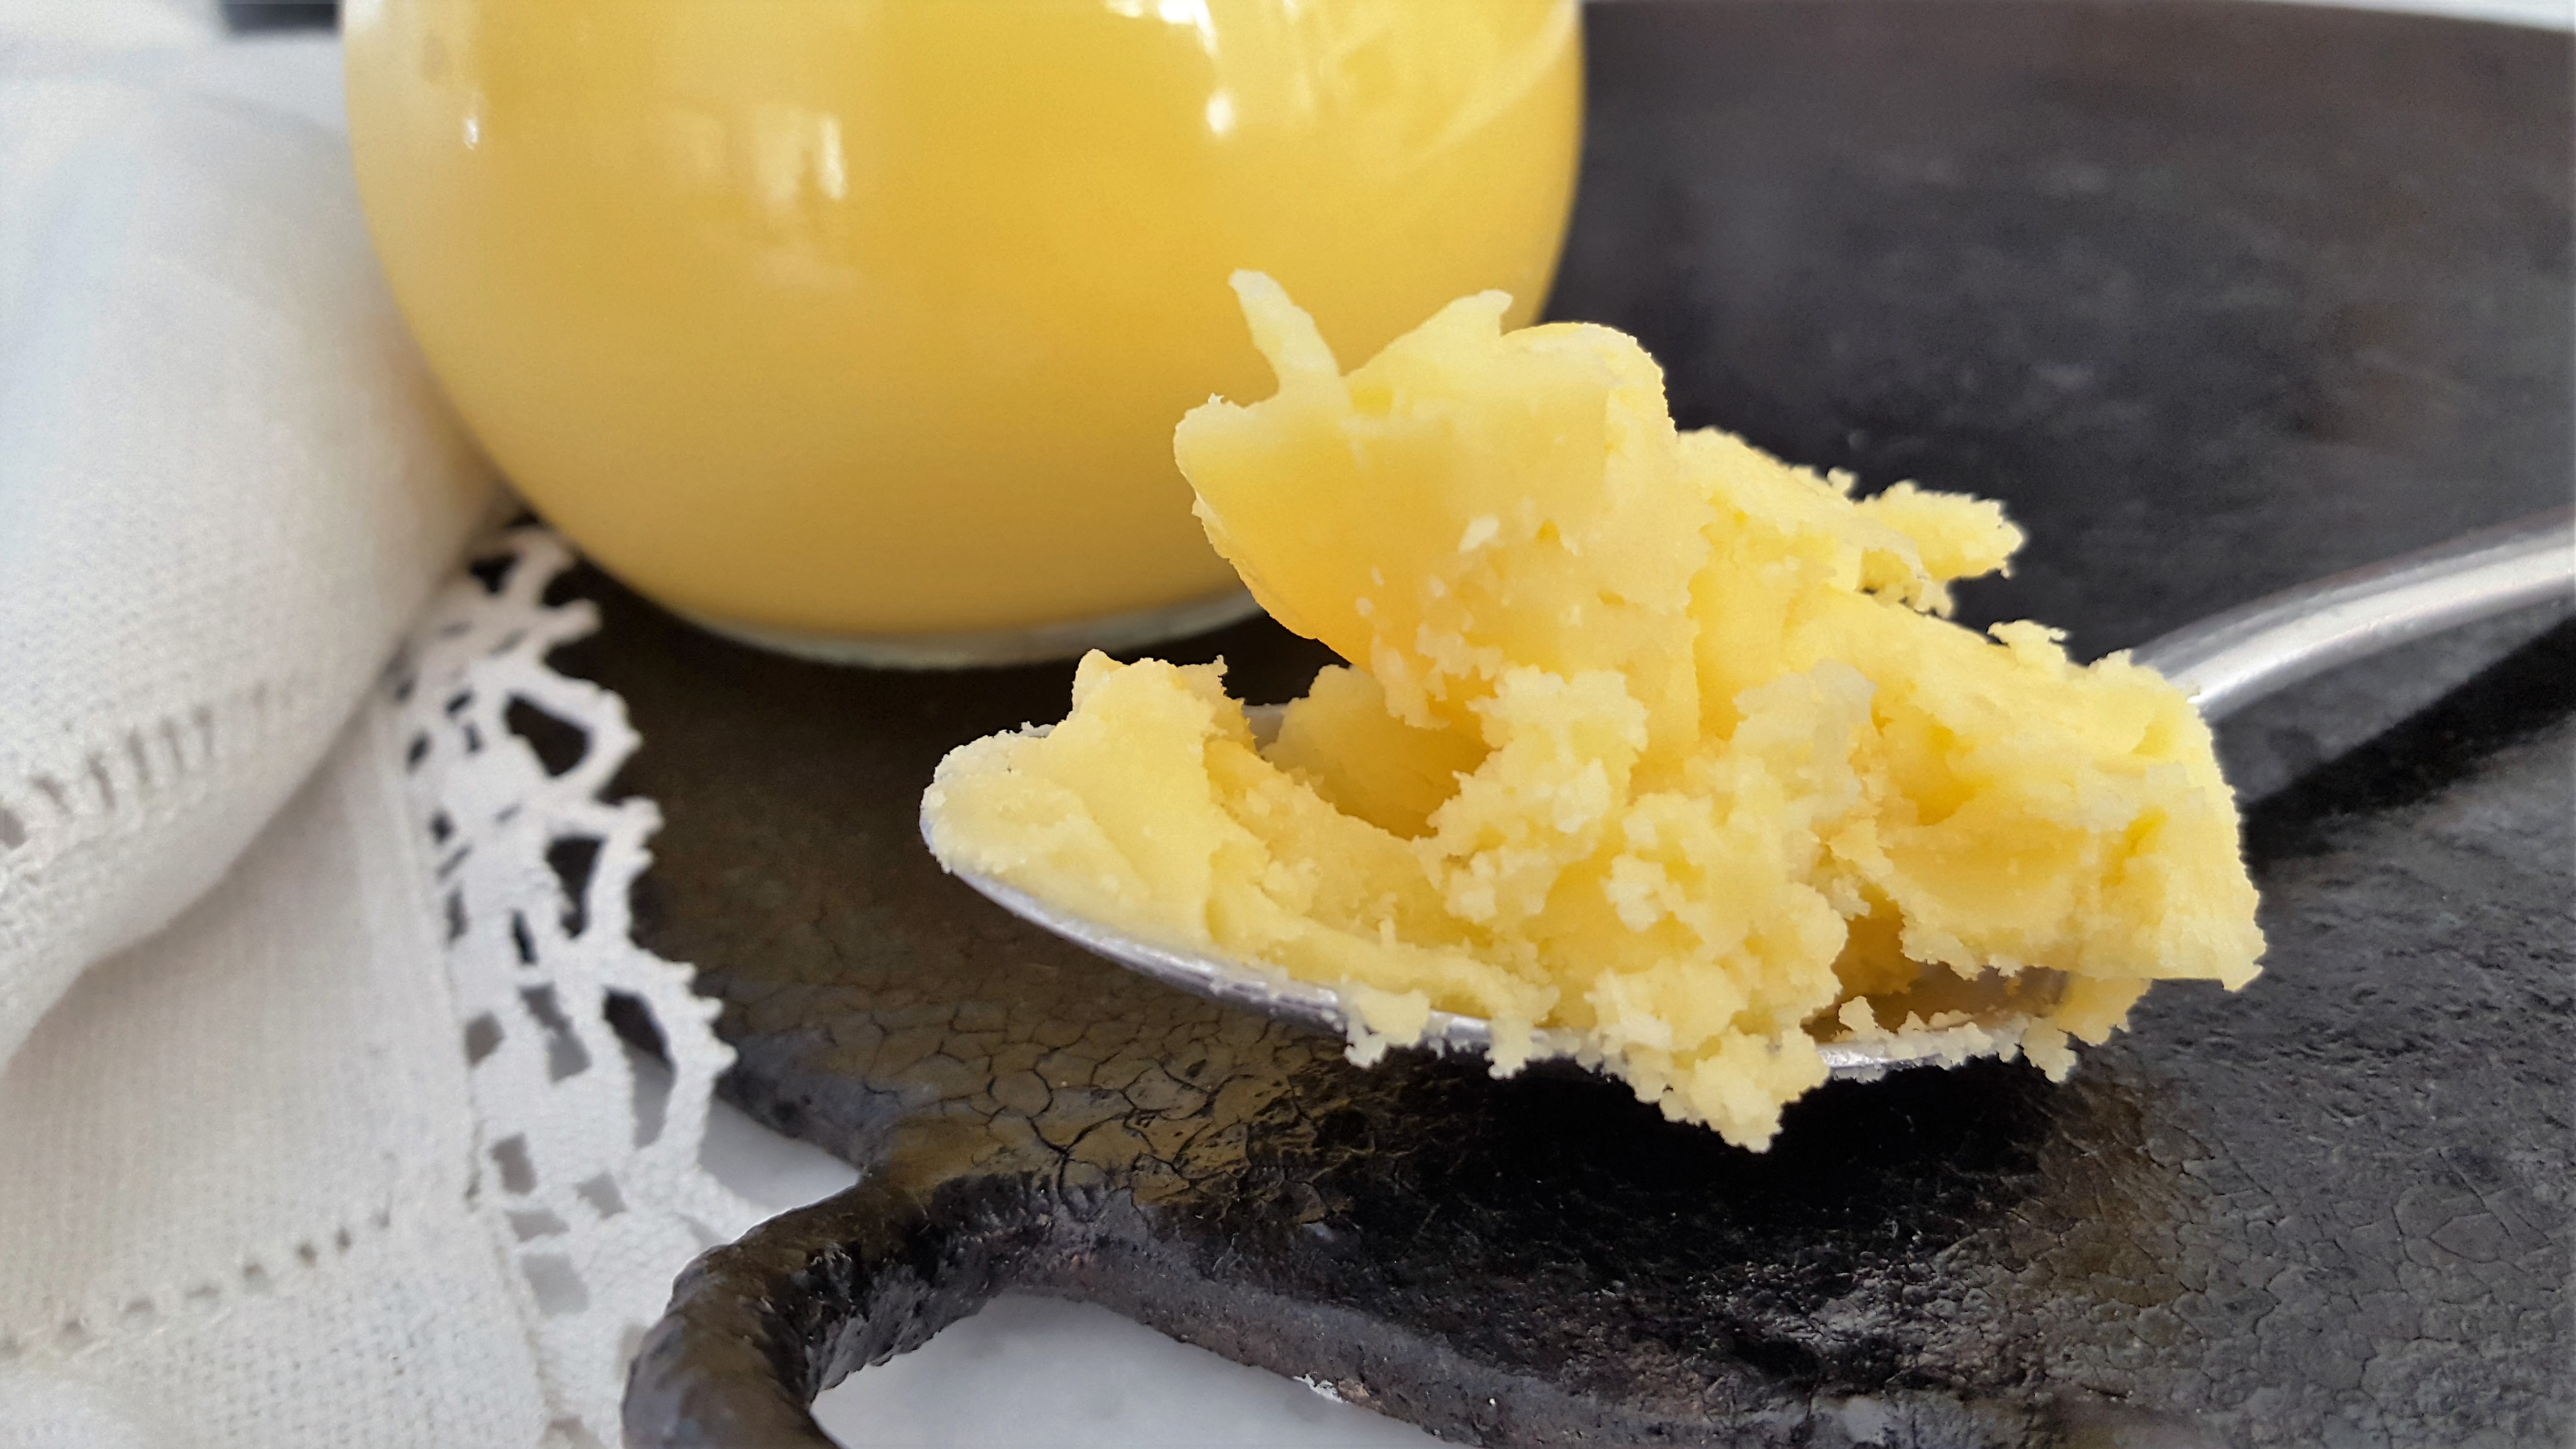
Pure ghee can be expensive but it is so easy to make – it is a one ingredient dish. Many people make it with unsalted good quality butter, but I make mine with rich clotted cream. The end result is amazing, rich, full of flavour, easy to make and smells gorgeous while it is cooking. Once cold it sets like beautifully, with the perfect smooth texture. So my advice will be try and make it at least once, and you will know exactly what I mean.
Ingredients:
Clotted cream
You need more equipments than ingredient for this one. You need – A medium size saucepan, a fine wire mesh strainer, cheesecloth, a spoon, and patience……
Method:
- To make ghee, place the clotted cream in a saucepan over medium-low heat. As it starts to boil and bubble, you will notice the butter starting to separate.

- As it heats up, the milk will start to separate into layers with a foam appearing on the top layer.
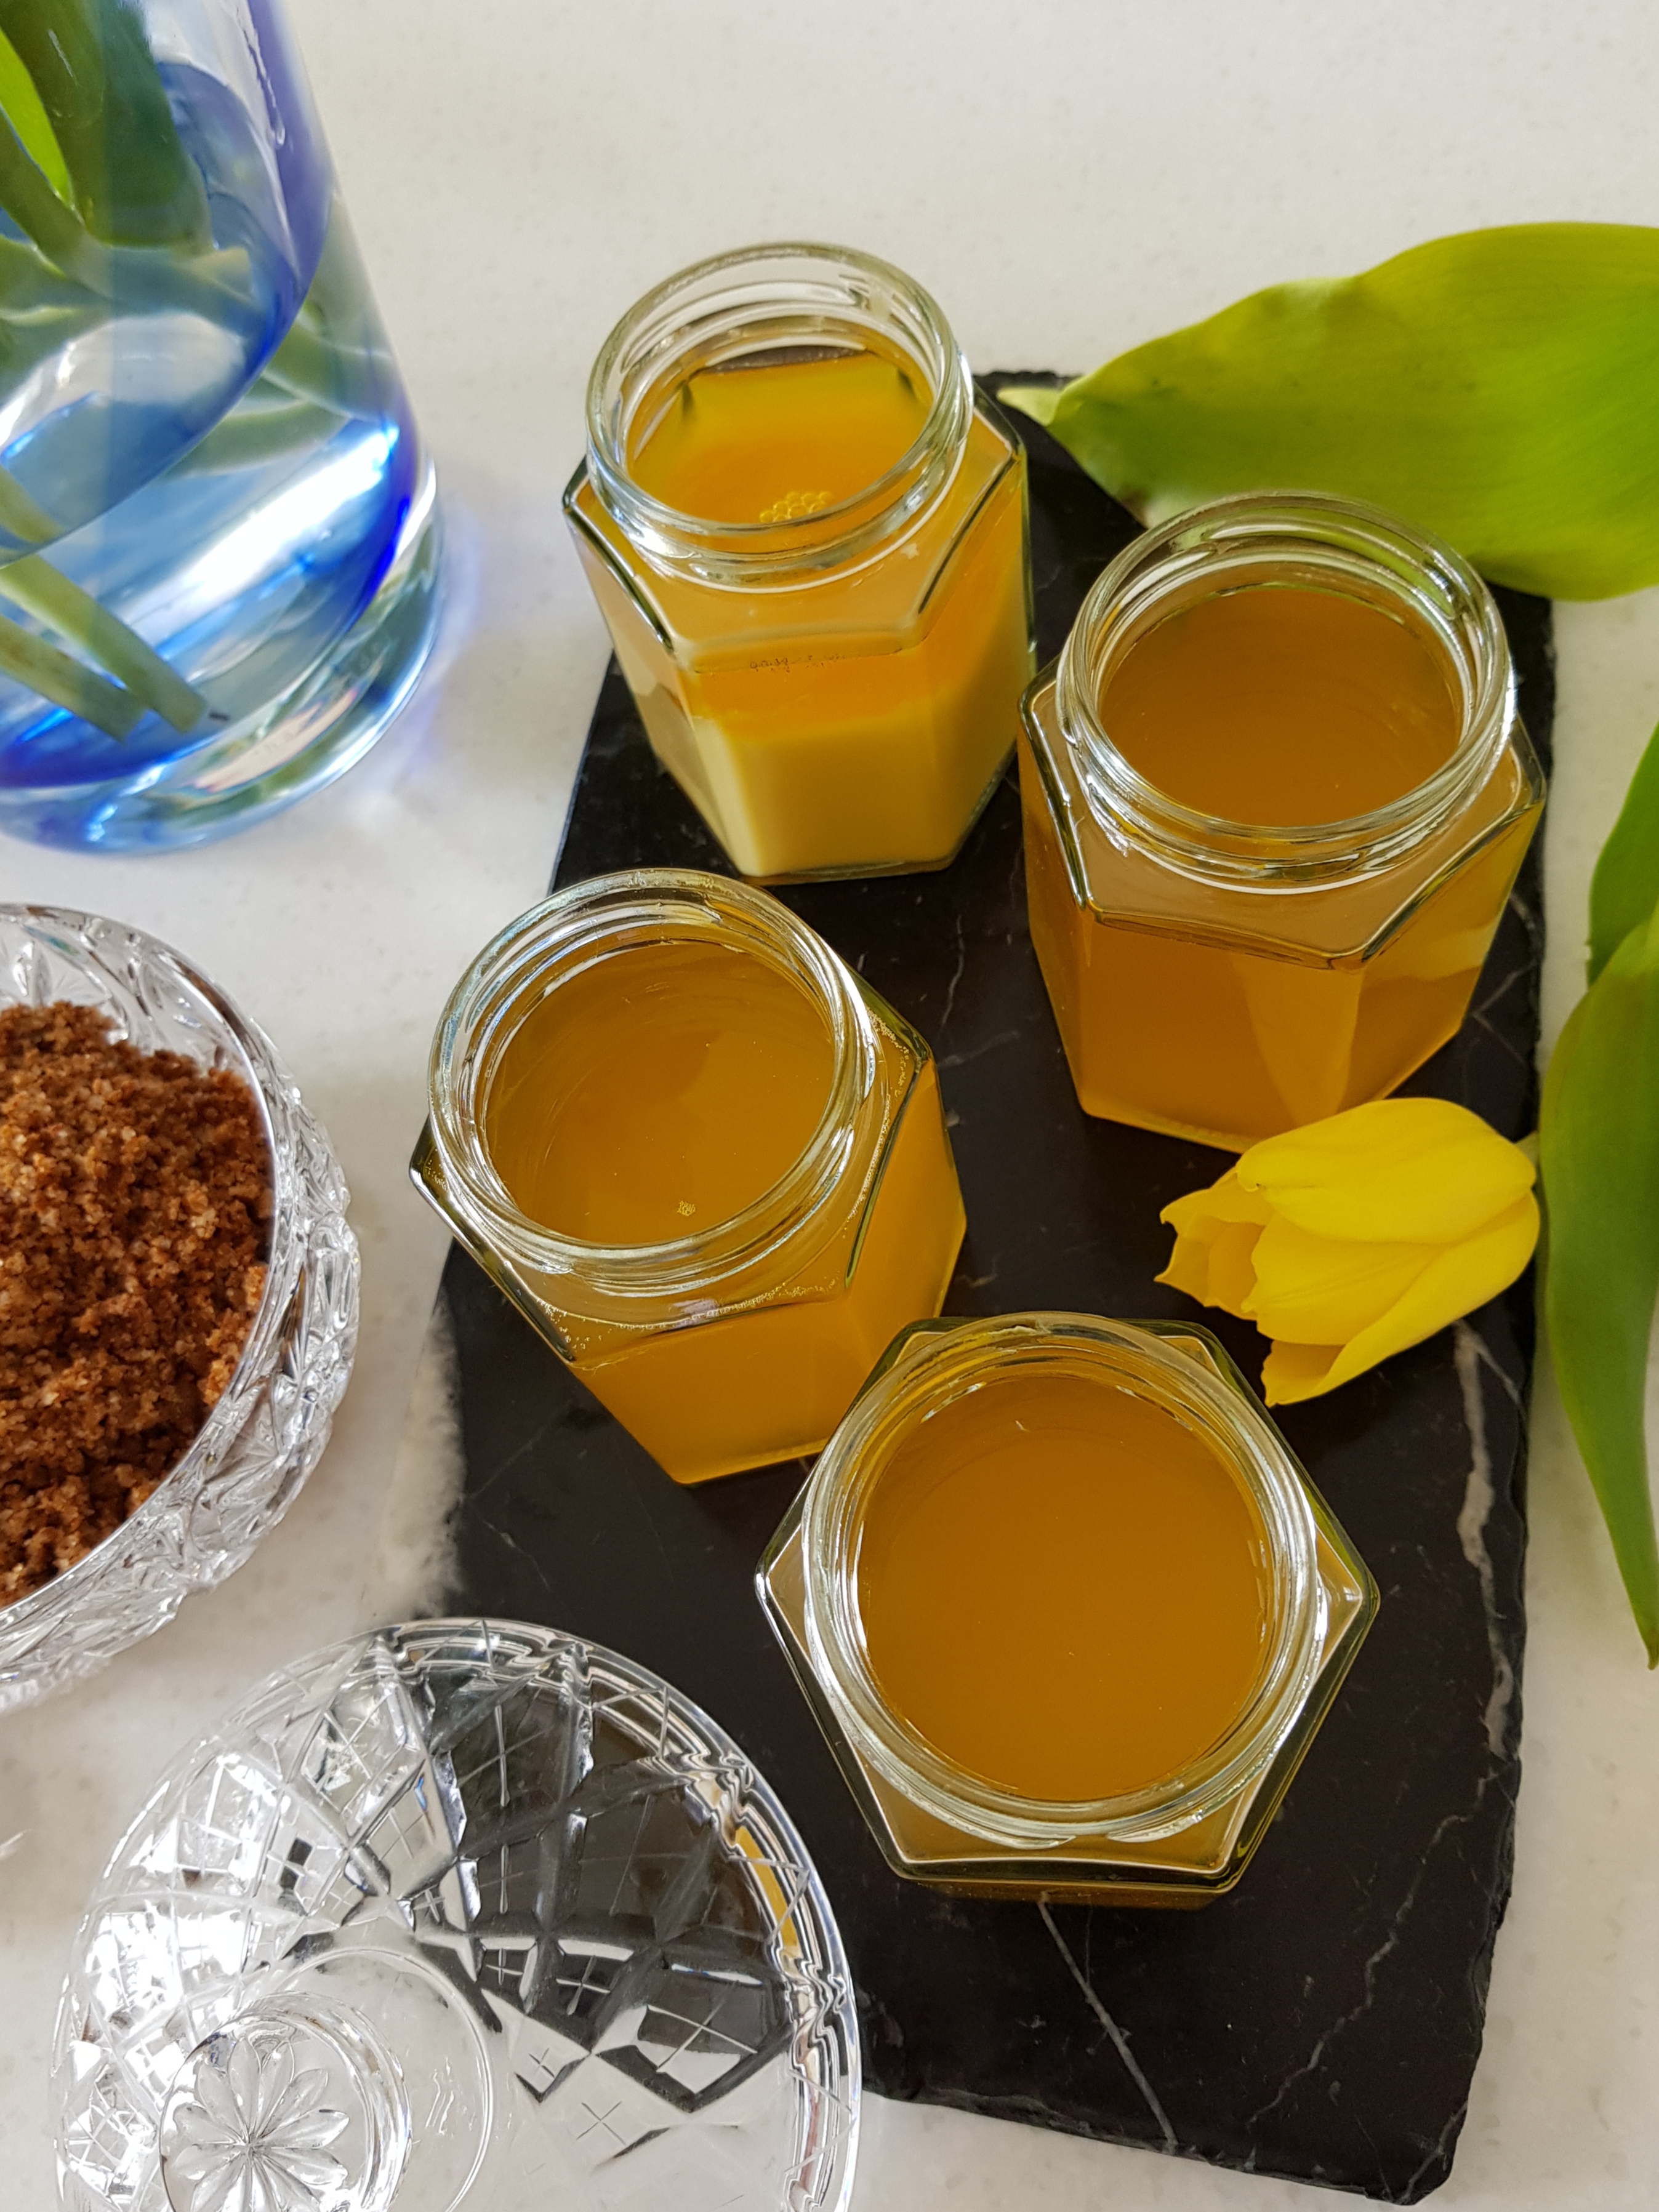
- The milk solid will settle and rest at the bottom of the pan. At this stage a clear golden liquid will float in the middle. During the cooking process the cream will foam up then stop bubbling until a golden liquid is reached.
- At this point, the melted cream would have turned into ghee leaving darker brown reddish sediment at the bottom of the saucepan. Do not try and scrape the bottom, turn the heat off and leave to rest.
- Once cool, carefully pour into a wire mesh strainer lined with cheesecloth to catch any pieces of the sediments.
- I am sure you would like to know what about the browned bits, I never discard it. It is my favorite part, my very first taste of how the ghee would taste.

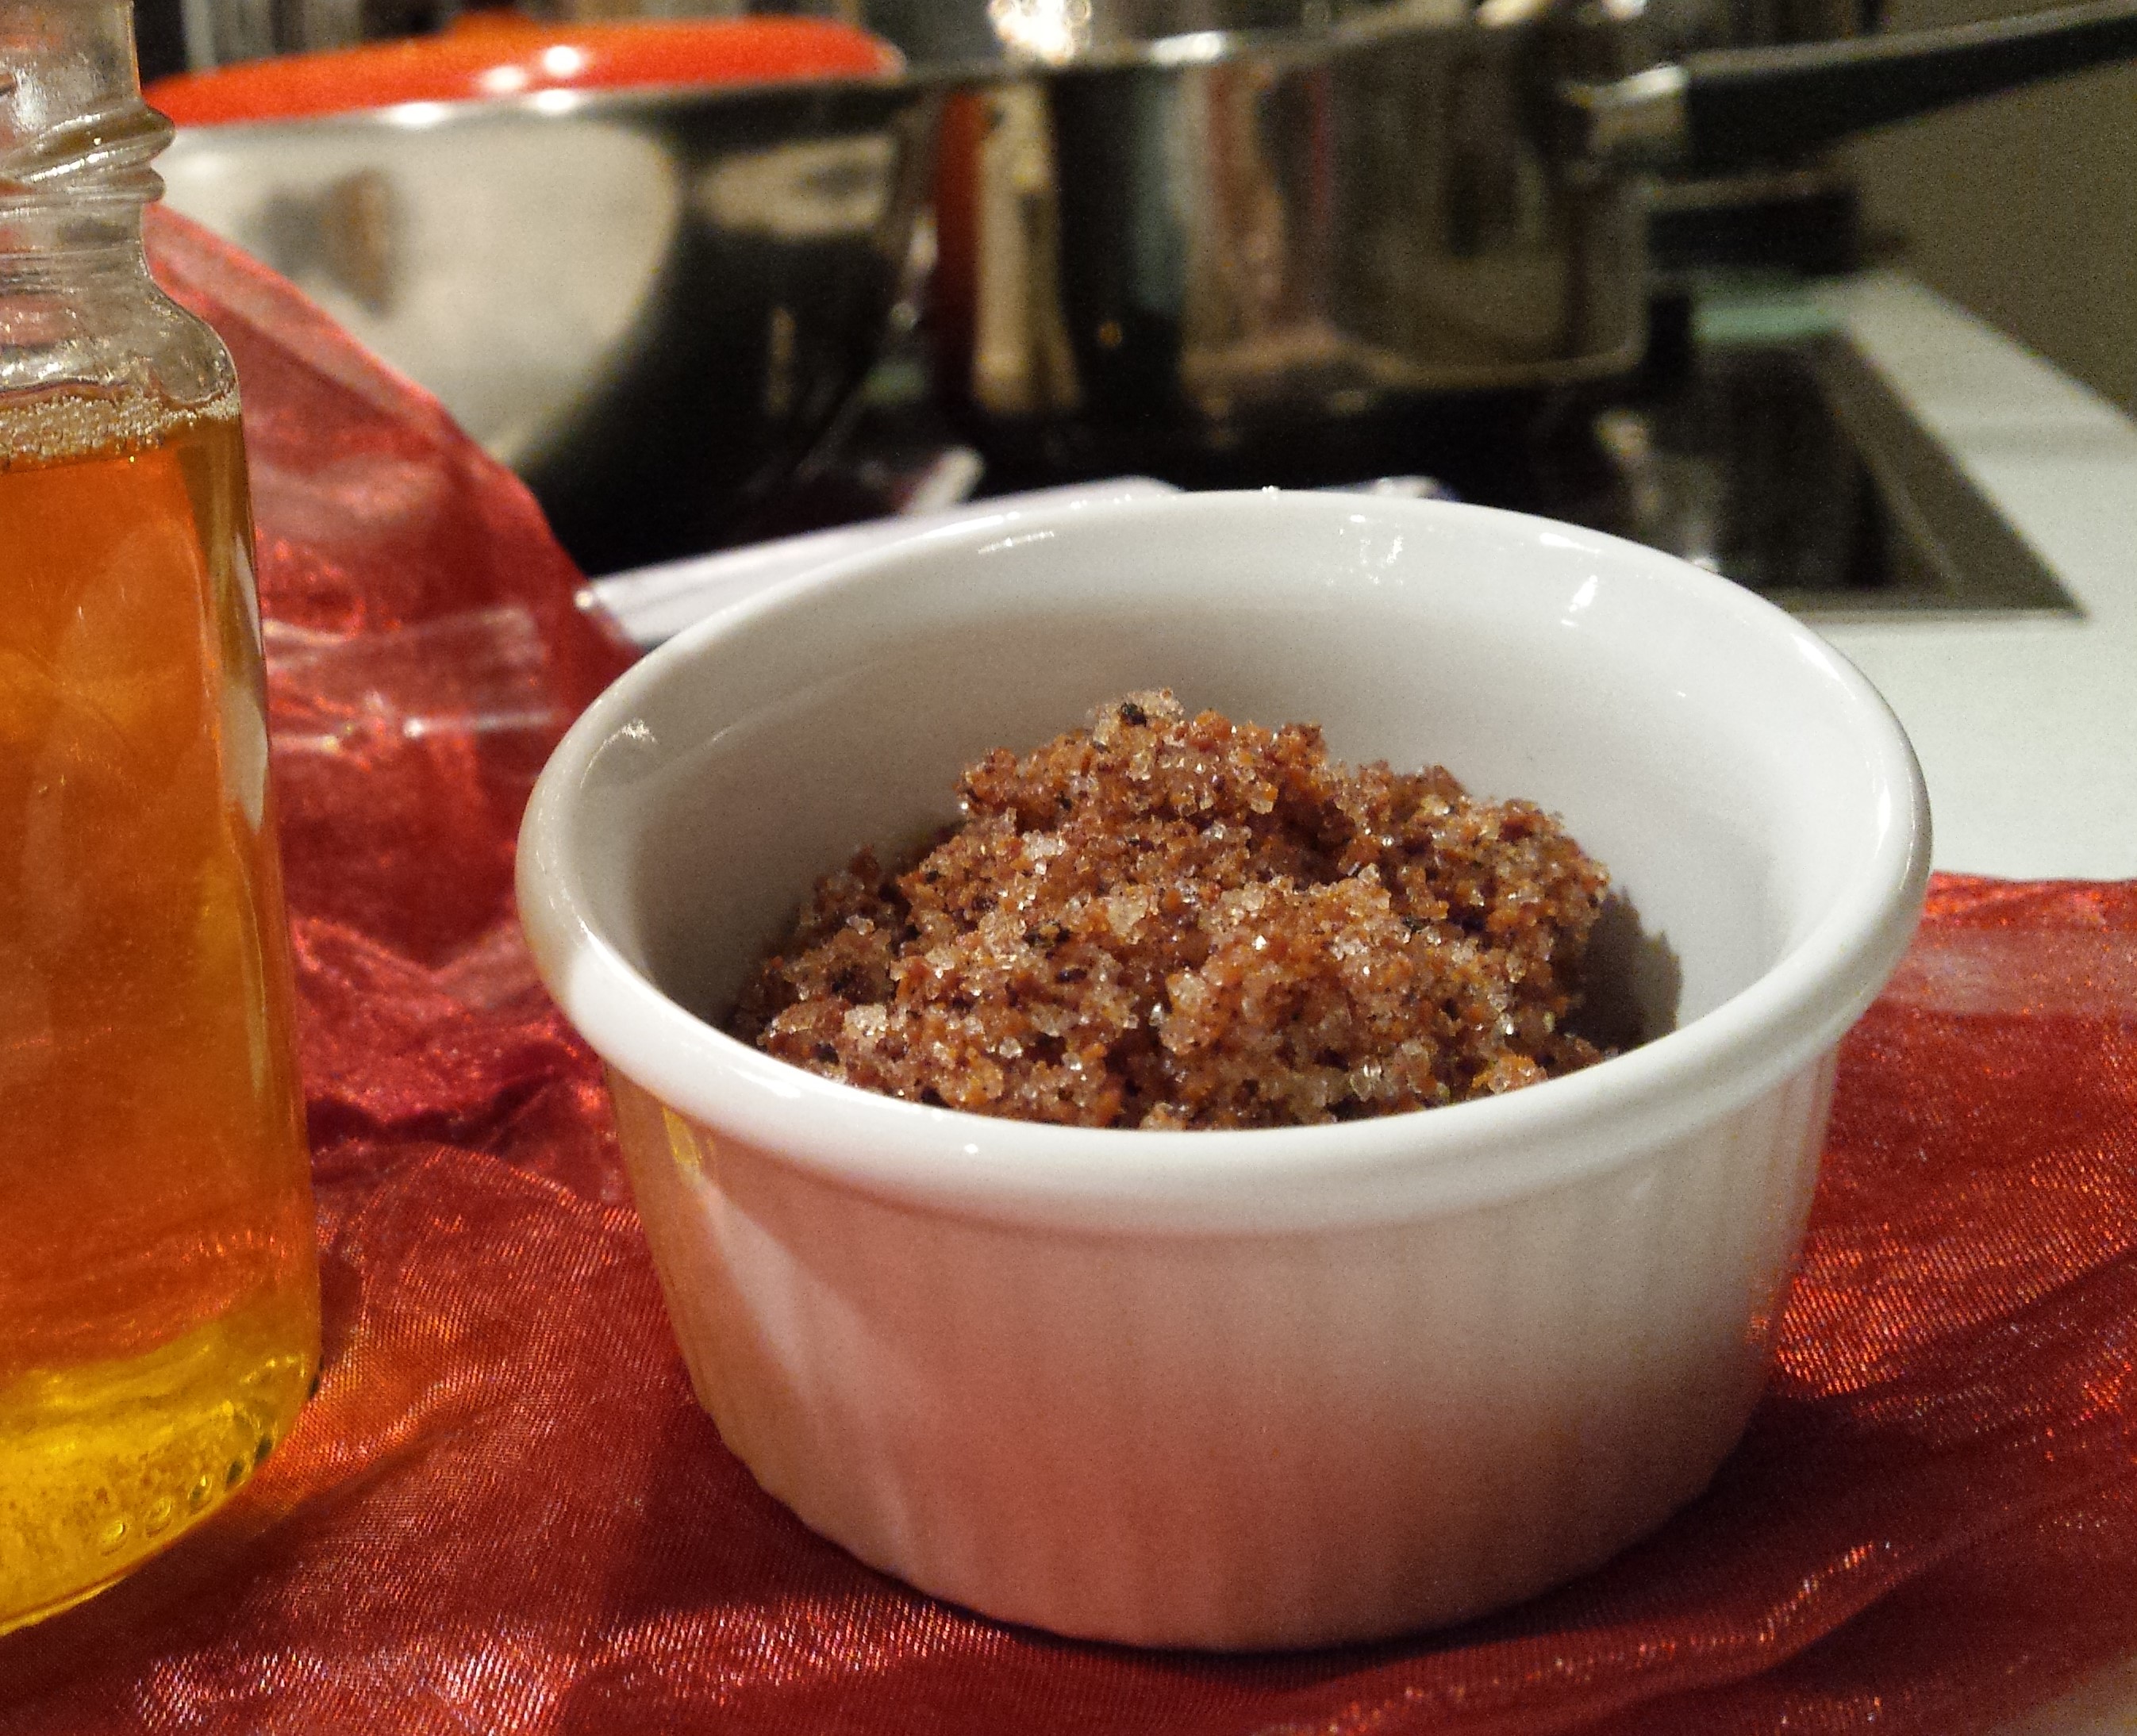
- Mum used to do that for us and I do the same now. Leave the saucepan to cool down completely and using a spoon scrape all the brown bits. Once that done, add some sugar to it and mix all together – we call it “Kokornee”.
 Quite honestly I am not sure if I have spelt it correctly and not sure what is the real name for it fudgy, rich tasty burnt ghee sediment is. But I can keep on eating it, it is so nice.
- This homemade Ghee will last up to a month at room temperature, and much longer in the fridge. I store mine in the fridge.
- Easy to use in most cooking, frying, stir fries or a drizzle on vegetables.

Brinda’s Note: Sealed and preserved in the fridge
